
4 Minutes Read
Listen to the Blog
Every great Figma project begins with a blank frame and a few simple shapes - rectangles, circles, lines, and text boxes.
But what separates a clean, scalable design system from a messy file is how you use and organize your layers.
In this tutorial, you’ll learn how to:
- Draw and edit shapes in Figma
- Organize and rename layers efficiently
- Use alignment, grouping, and frames
- Control depth with ordering (Send to Back / Bring to Front)
- Build reusable design components
By the end, you’ll be layering like a pro and creating layouts that are pixel-perfect and developer-ready.
Step 1: Drawing Basic Shapes in Figma
1. Open a New Frame
- Press F and drag to create your main canvas (Frame).
- Frames act as “artboards” in Figma and define the design area.
2. Use the Shape Tools
- Press R for Rectangle
- Press O for Circle (or Ellipse)
- Press L for Line
- Press Shift + any shape to create perfect squares or circles.
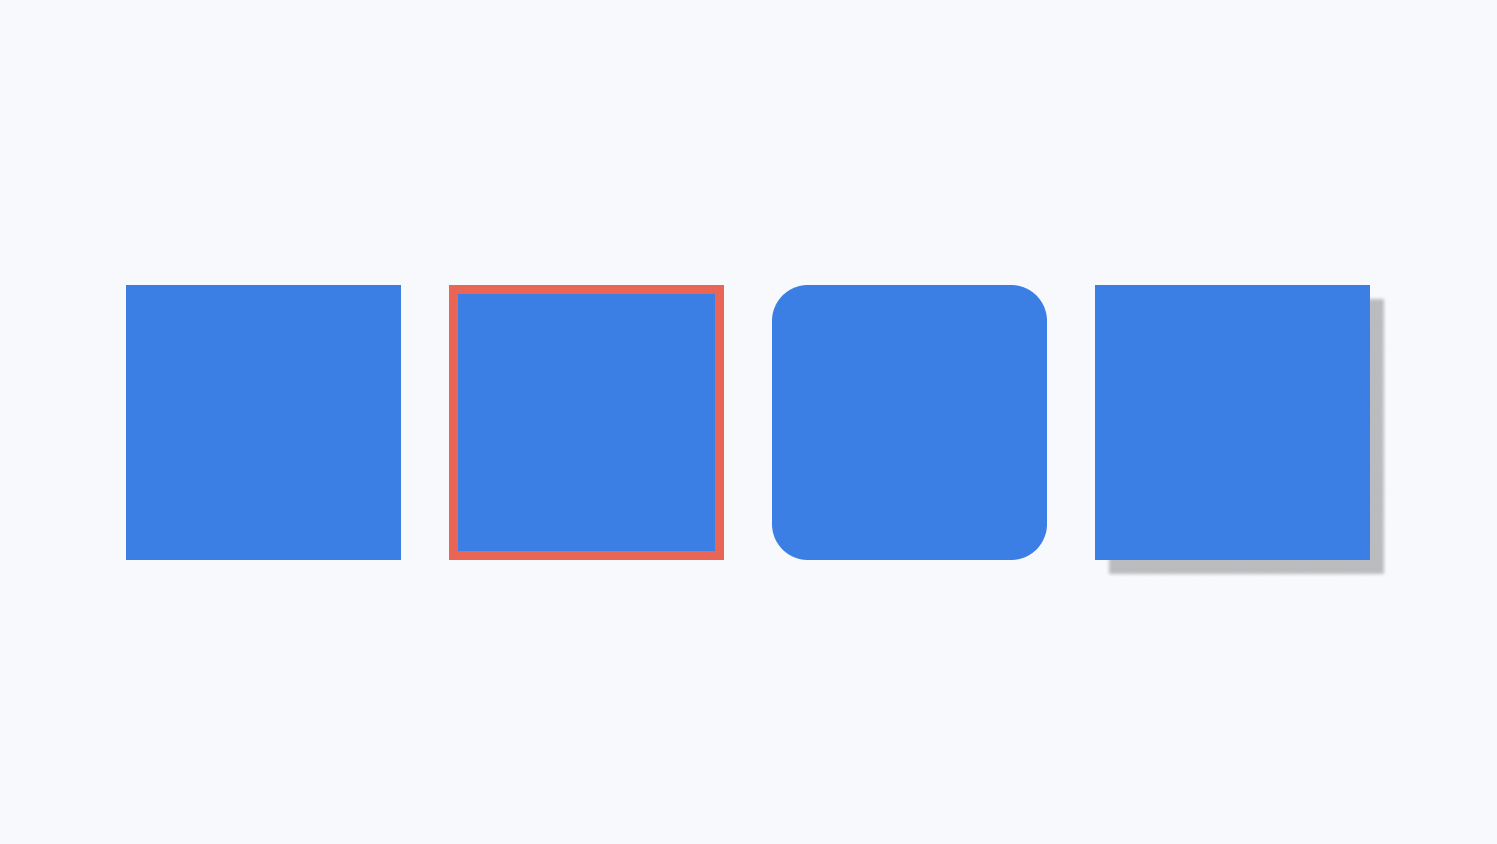
3. Style Your Shape
- Change Fill Color, Stroke, or Corner Radius from the right-hand panel.
- Add shadows using Effects → Drop Shadow to create subtle depth.
Step 2: Working with Layers
Each object in Figma (shape, text, image, or frame) sits on a layer stacked like sheets of paper.
Understanding and controlling these layers is key to organized design.
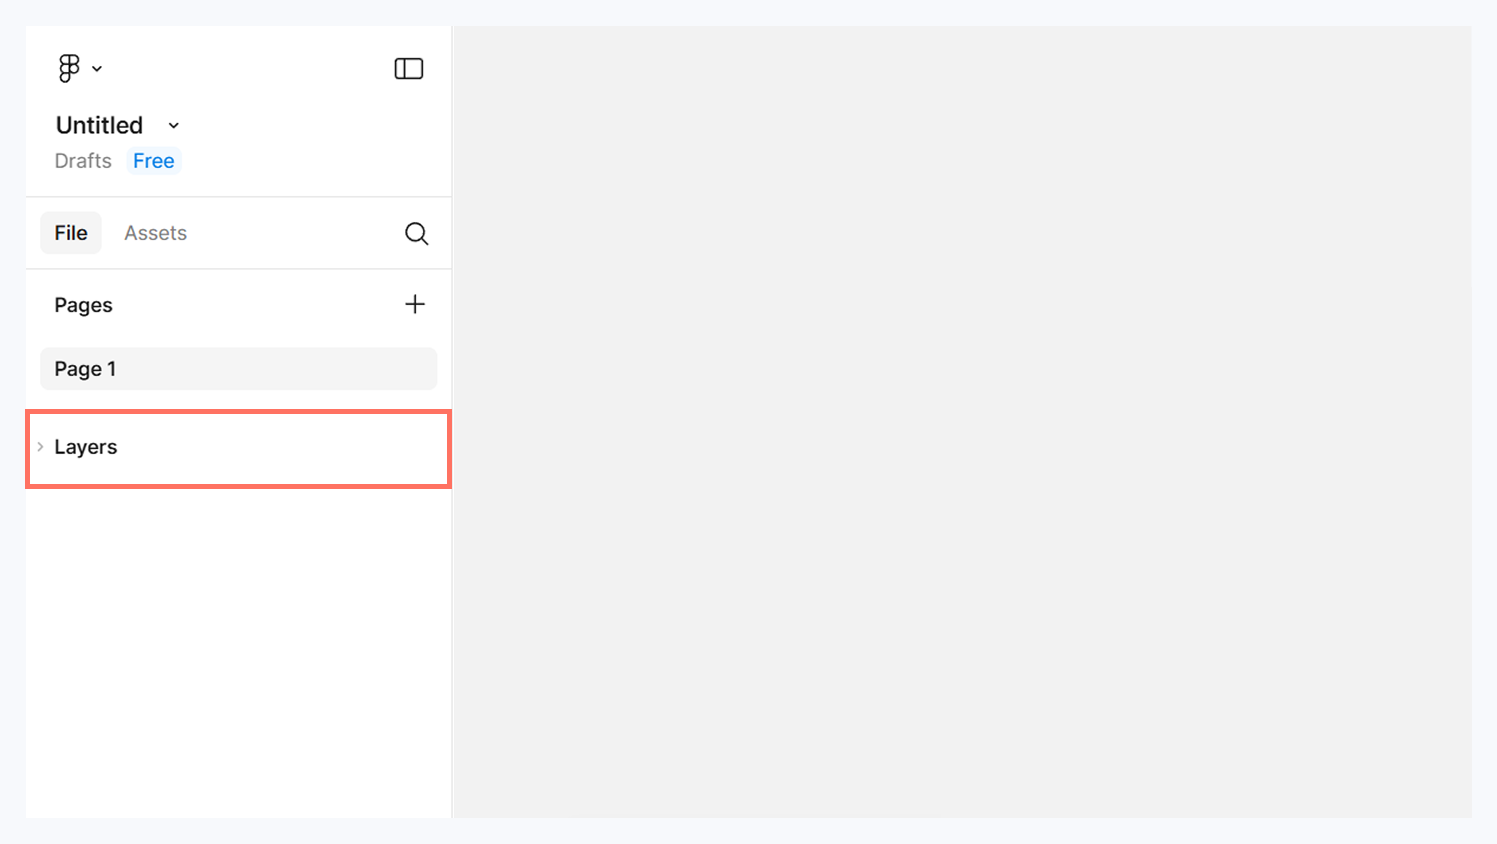
1. Open the Layers Panel
On the left side of Figma, click the Layers icon (stacked rectangles).
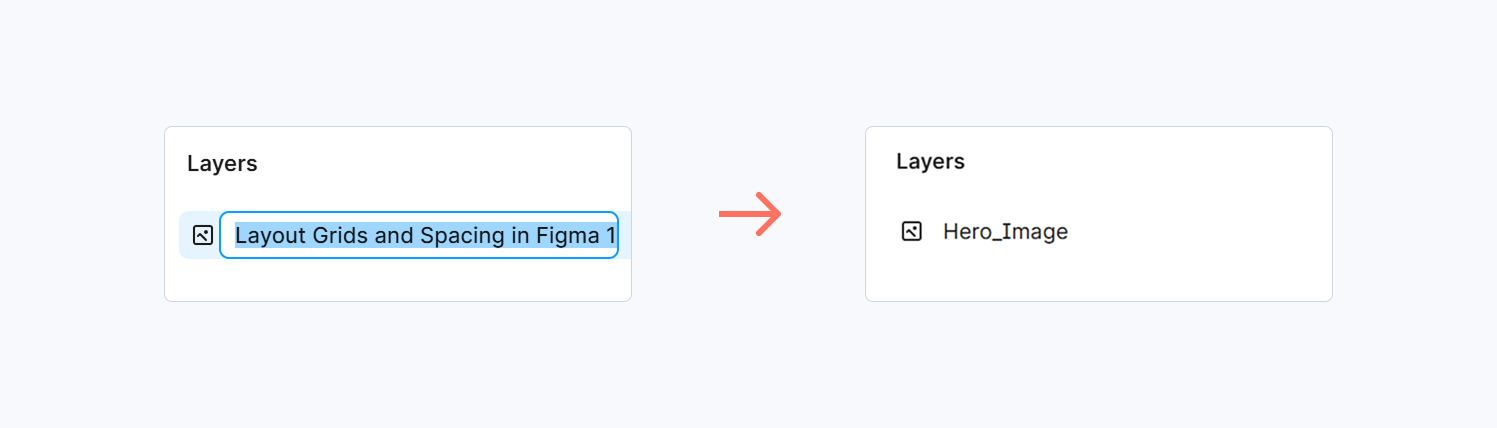
2. Rename Your Layers
Double-click a layer name and type something meaningful like Button_BG or Hero_Image.
3. Reorder Layer
- Drag layers up or down in the list to control which element appears on top.
- Use Ctrl/Cmd + [ or ] to send backward or bring forward.
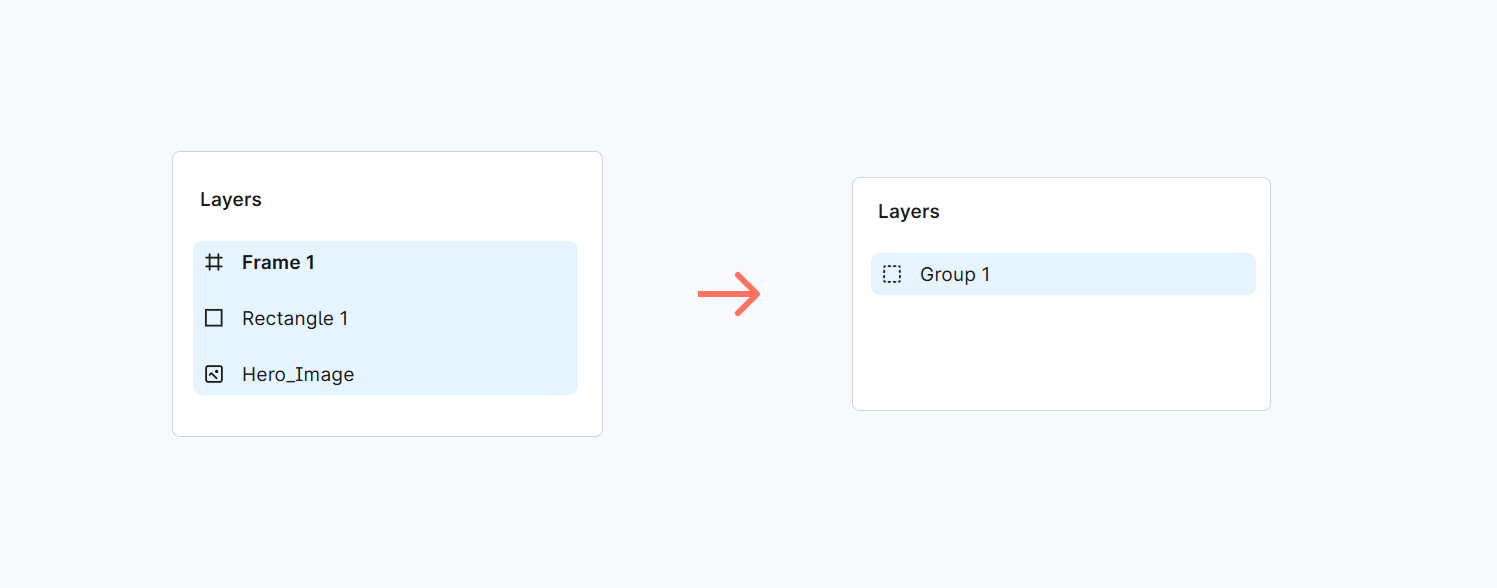
4. Group Layers
- Select multiple layers → Ctrl/Cmd + G to group.
- Great for combining icons, text, and background shapes into one reusable element.
An annotated screenshot showing the Layers panel with named groups: “Header,” “Button,” “Hero BG.
Step 3: Aligning and Distributing Shapes
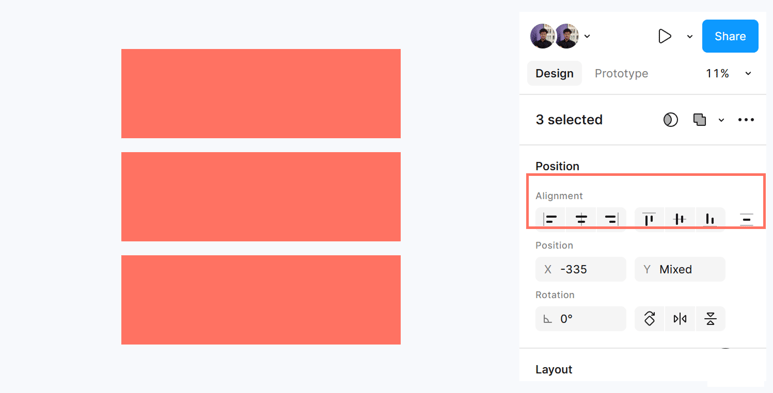
Alignment is what makes your designs feel professional.
- Select multiple objects → Use Align Left / Center / Right / Top / Bottom buttons in the top bar.
- Use Tidy Up to evenly space shapes horizontally or vertically.
- Turn on Smart Guides (View → Show Smart Guides) to snap objects perfectly.
Press Shift + A to use Auto Layout, Figma will automatically distribute spacing between objects as you resize them.
Step 4: Using Frames for Structure
Frames are not just for artboards, they’re containers for organization.
- Press F and draw around your content.
- Drag shapes, text, and images inside a frame, you’ll see them nested in the layer list.
- Frames help manage responsive design, resize once, and all nested elements adjust together.
Common Use Cases:
- Page sections (Header, Hero, Footer)
- UI components (Cards, Buttons, Nav Bars)
- Grid layouts and auto-resizing containers
A sample UI section with shapes organized into frames named: “Header,” “Card Section,” “CTA.”
Step 5: Managing Layer Depth and Hierarchy
Use Order Controls to define what’s visible in front or behind.
- Bring Forward: Ctrl/Cmd + ]
- Send Backward: Ctrl/Cmd + [
- Bring to Front: Ctrl/Cmd + Shift + ]
- Send to Back: Ctrl/Cmd + Shift + [
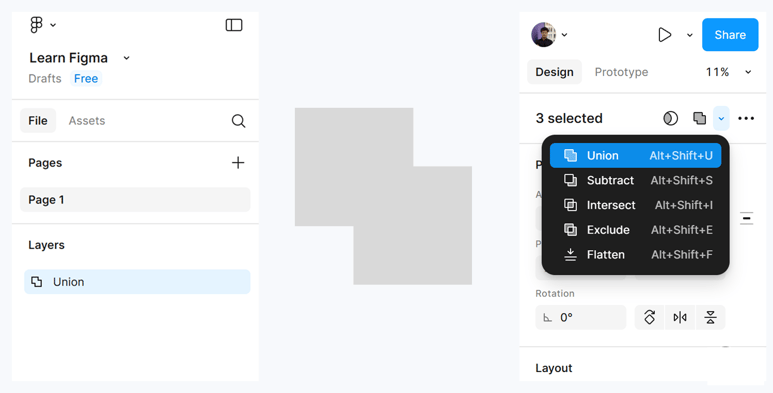
Step 6: Combine Shapes for Custom Designs
Figma’s Boolean operations let you create complex icons or illustrations from simple shapes.
- Union (⌘/Ctrl + ⌥/Alt + U): Combines multiple shapes
- Subtract (⌘/Ctrl + ⌥/Alt + -): Cuts one shape from another
- Intersect / Exclude: Create unique geometric icons
Step 7: Layer Naming & Organization Tips (Pro Workflow)
- Use consistent prefixes: btn/primary, icon/arrow, bg/hero.
- Color-code layers with Section Colors (Right-click → Layer Color).
- Collapse groups you’re not editing to reduce clutter.
- Use Sections (Shift + S) to group related frames, great for large projects.
- Keep your hierarchy clean before developer handoff.
Step 8: Turn It into a Reusable Component
Once your shape and layers are organized:
- Select your object → Click Create Component (Ctrl/Cmd + Alt + K).
- Use it across multiple pages updates sync everywhere.
.png)
.png)

%201.png?width=1016&height=912&name=image%20(54)%201.png)