
2 Minutes Read
Listen to the Blog
Apply all prototyping features you’ve learned.
Why This Practice Project Matters
You’ve mastered the basics: auto layout, components, variants, Smart Animate, and sharing.
Now it’s time to bring everything together into a single, realistic project, a fully interactive blog flow.
- Practice component consistency
- Simulate user navigation
- Use animations and interactions naturally
- Build a prototype ready for stakeholder review
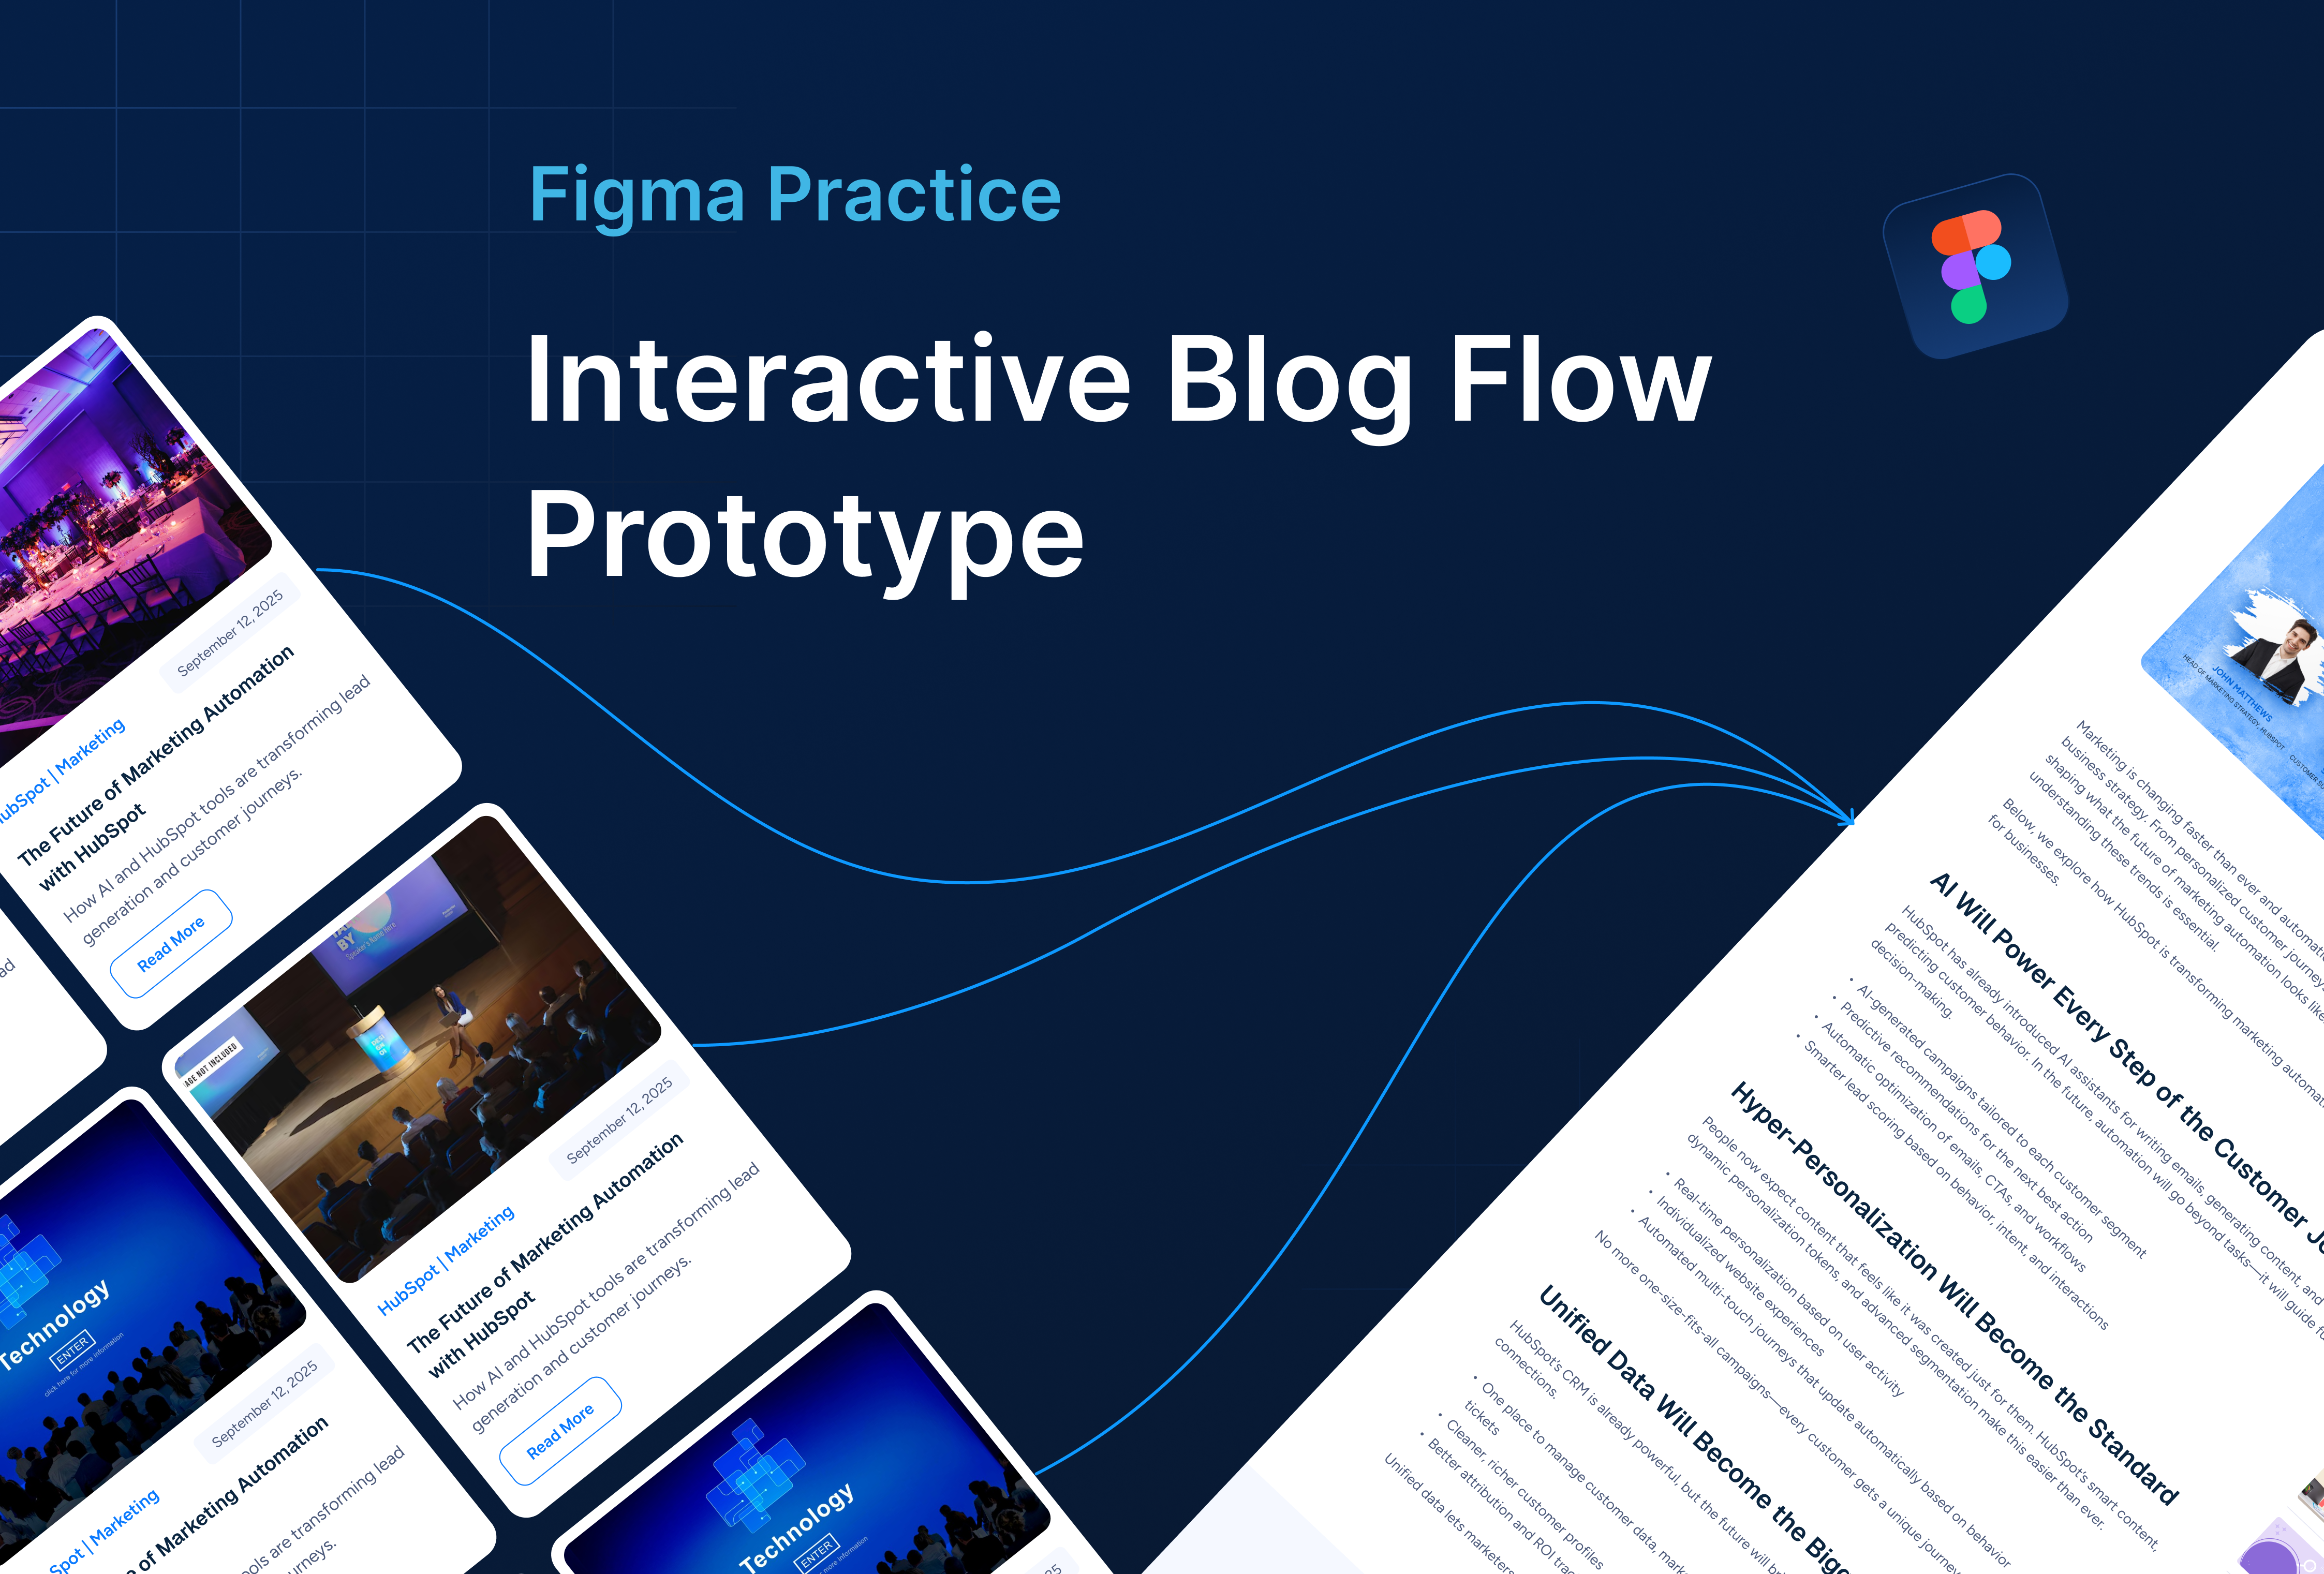
Goal: Create a clickable, animated blog flow from blog list to article, comment popup.
Project Overview
Your prototype will include these 3 main screens:
- 📚 Blog List Page - grid of articles
- 📝 Article Page - with hero, text, and comment button
- 💬 Comment Popup - interactive overlay for user feedback
You’ll connect all screens with Figma’s prototyping tools and enhance transitions with Smart Animate and interactive components.
Step-by-Step Tutorial
1. Set Up Frames
Create 3 frames (Desktop 1440px):
- “Blog List”
- “Article”
- “Comment Popup”
2. Design Base Layouts
Use your knowledge of:
- Auto Layout: Structure headers, sidebars, and cards.
- Grids: Maintain spacing consistency.
- Components: Create reusable blog cards, buttons, and headers.
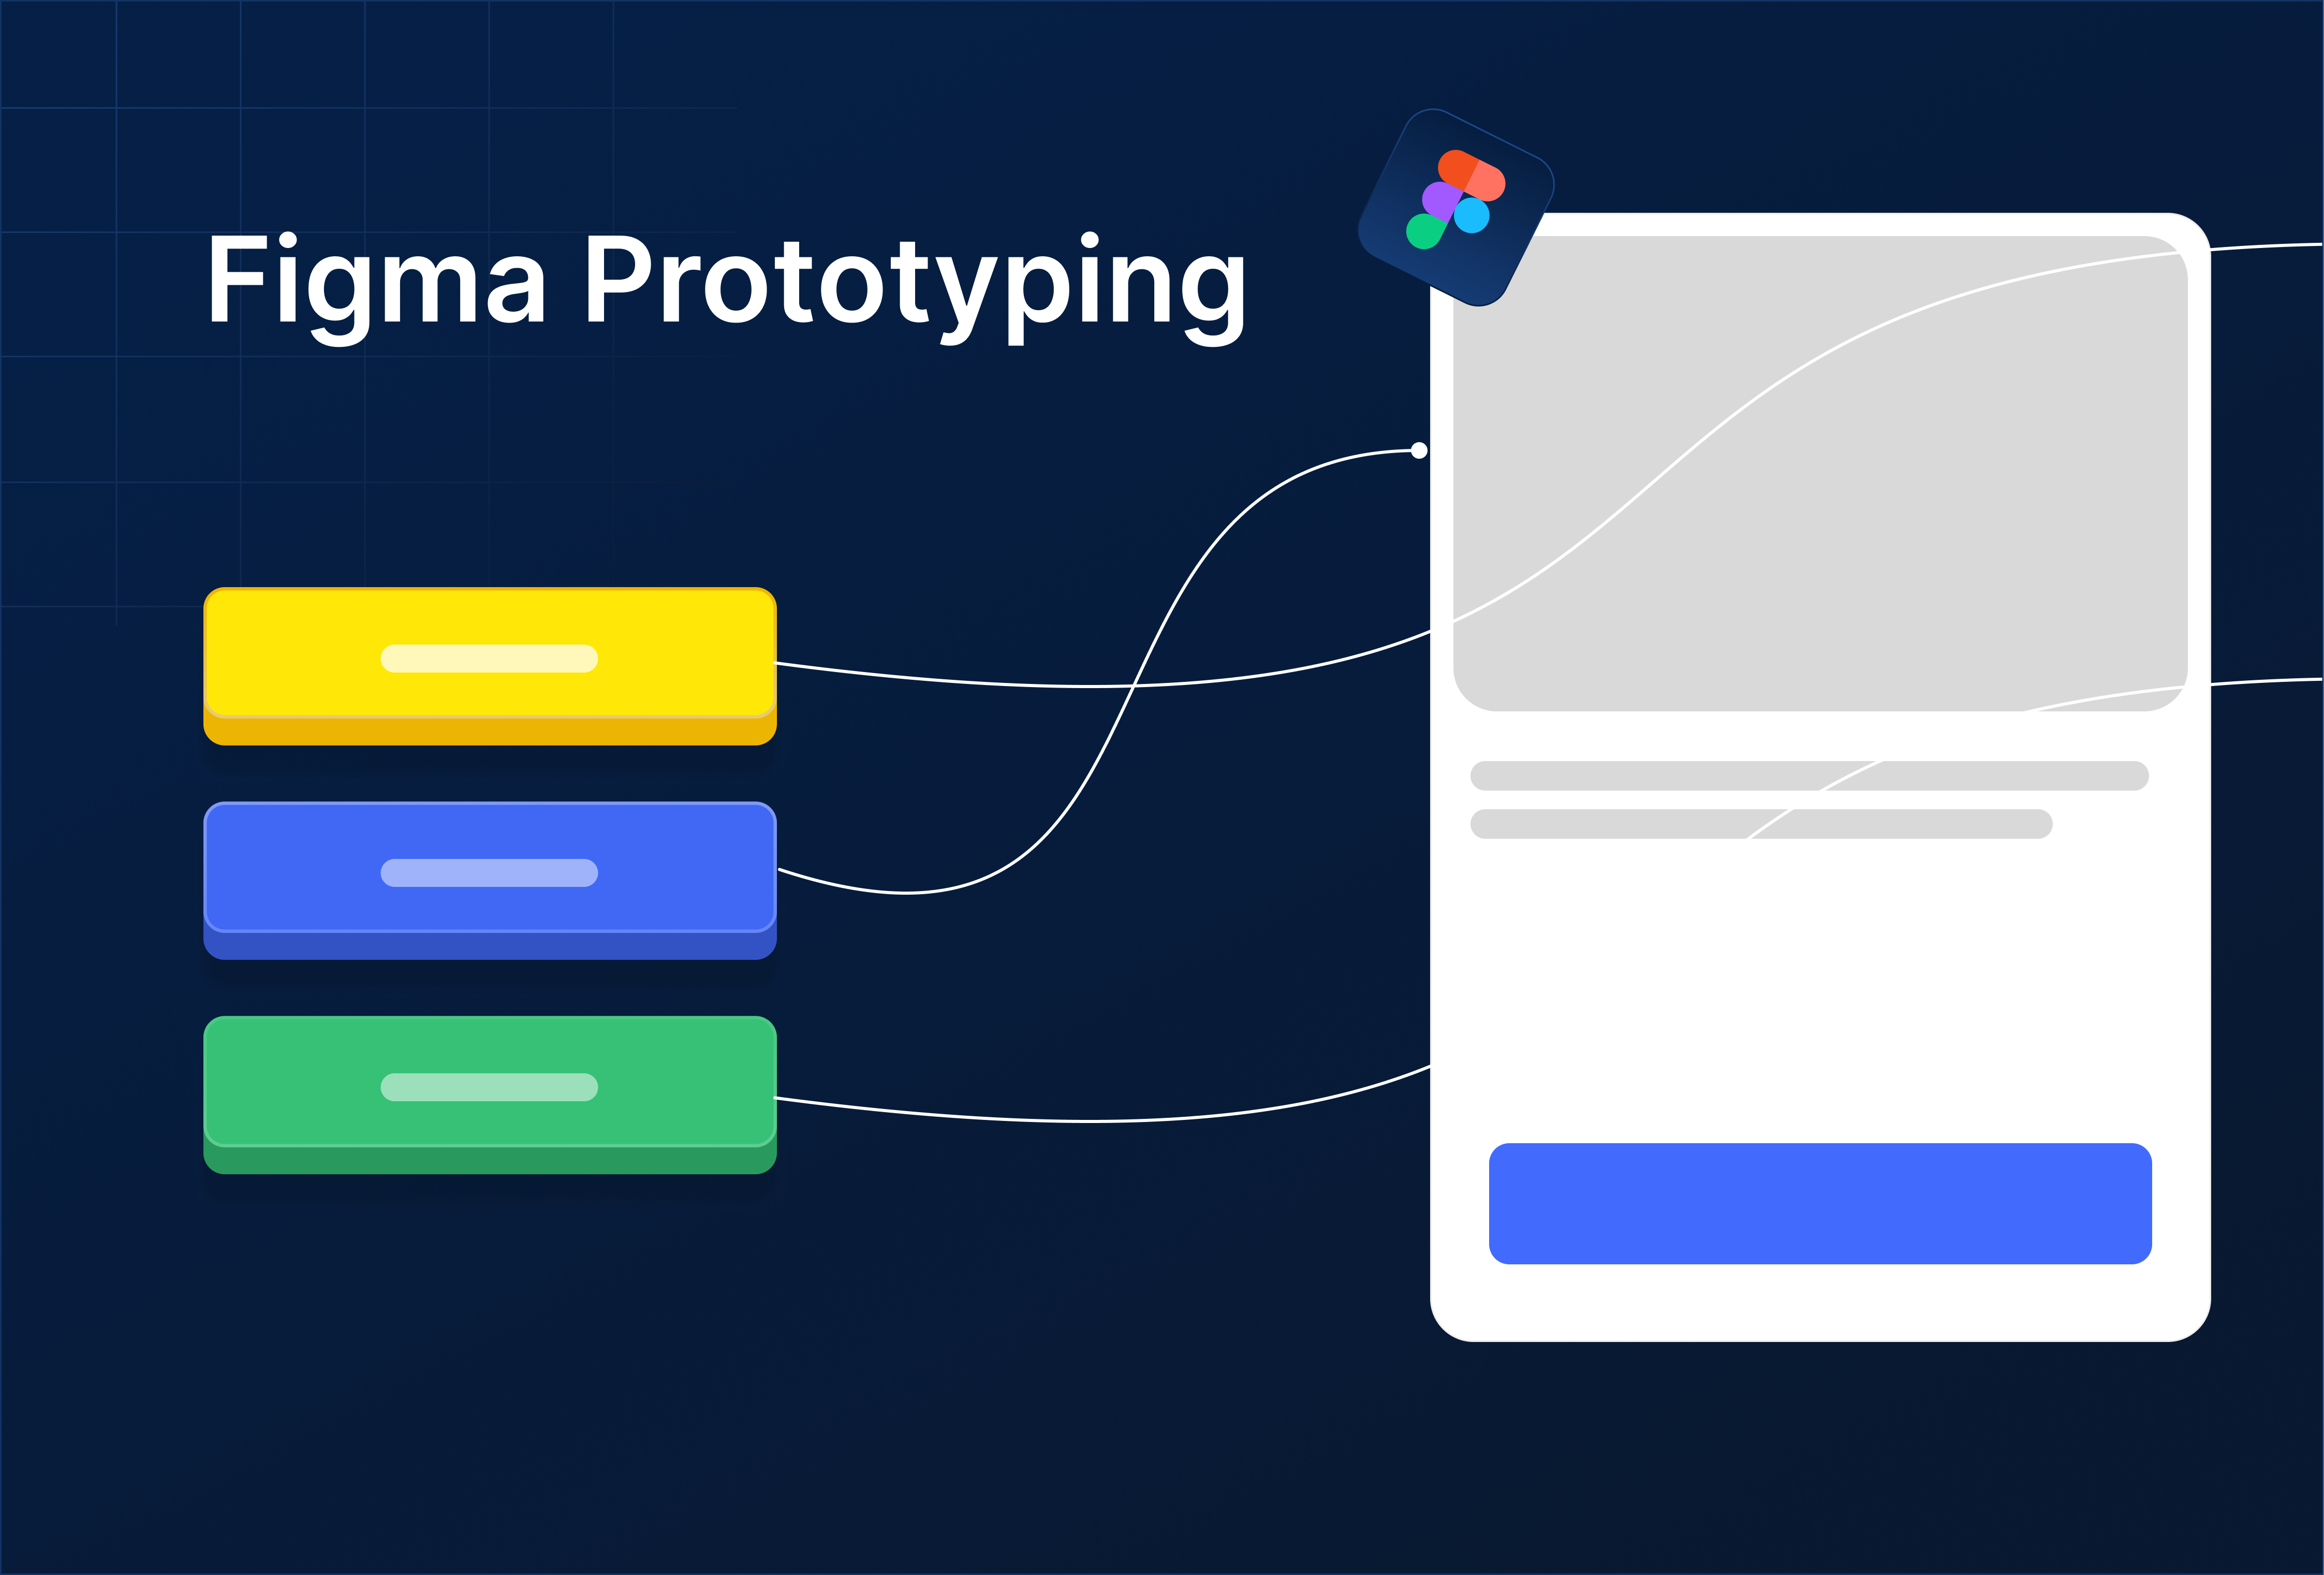
3. Add Interactions
In Prototype Mode:
- Blog List → Article: Click blog card.
- Article → Comment Popup: Click “Leave a Comment.”
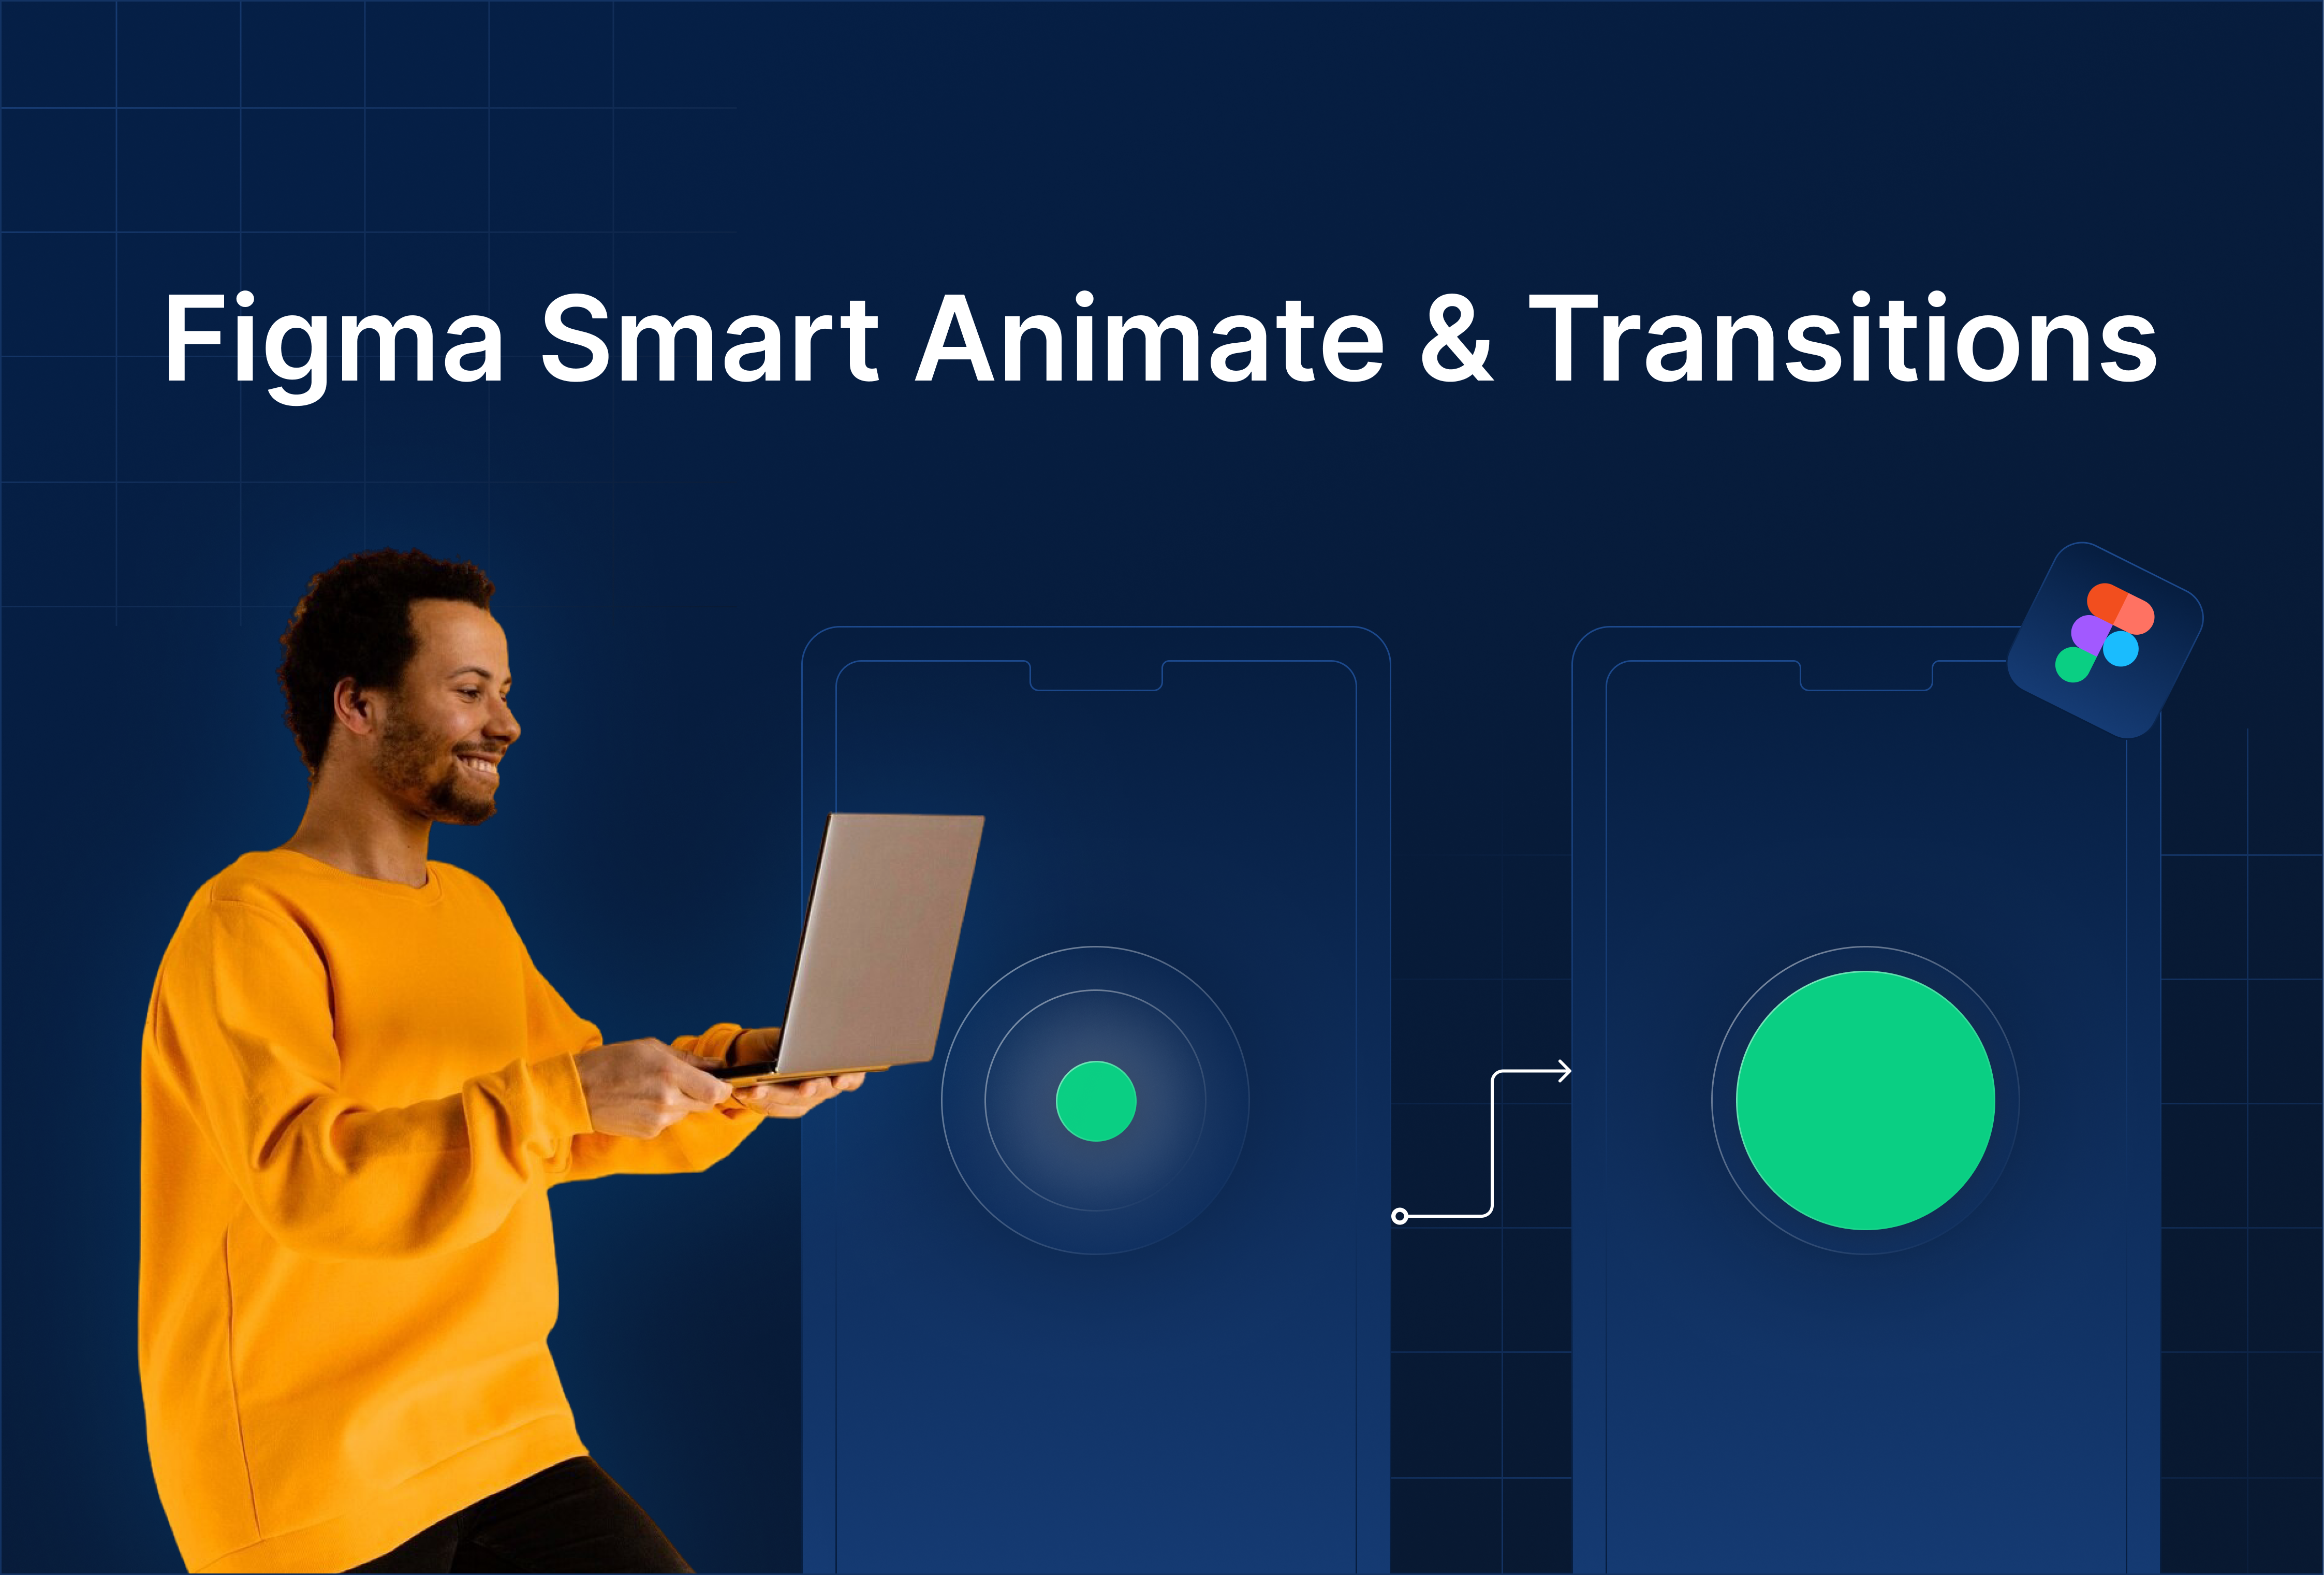
4. Animate the Flow
Add Smart Animate transitions between frames for smooth visual continuity:
- Use Ease In-Out with 300–500ms duration.
- Add fade-in for the popup overlay.

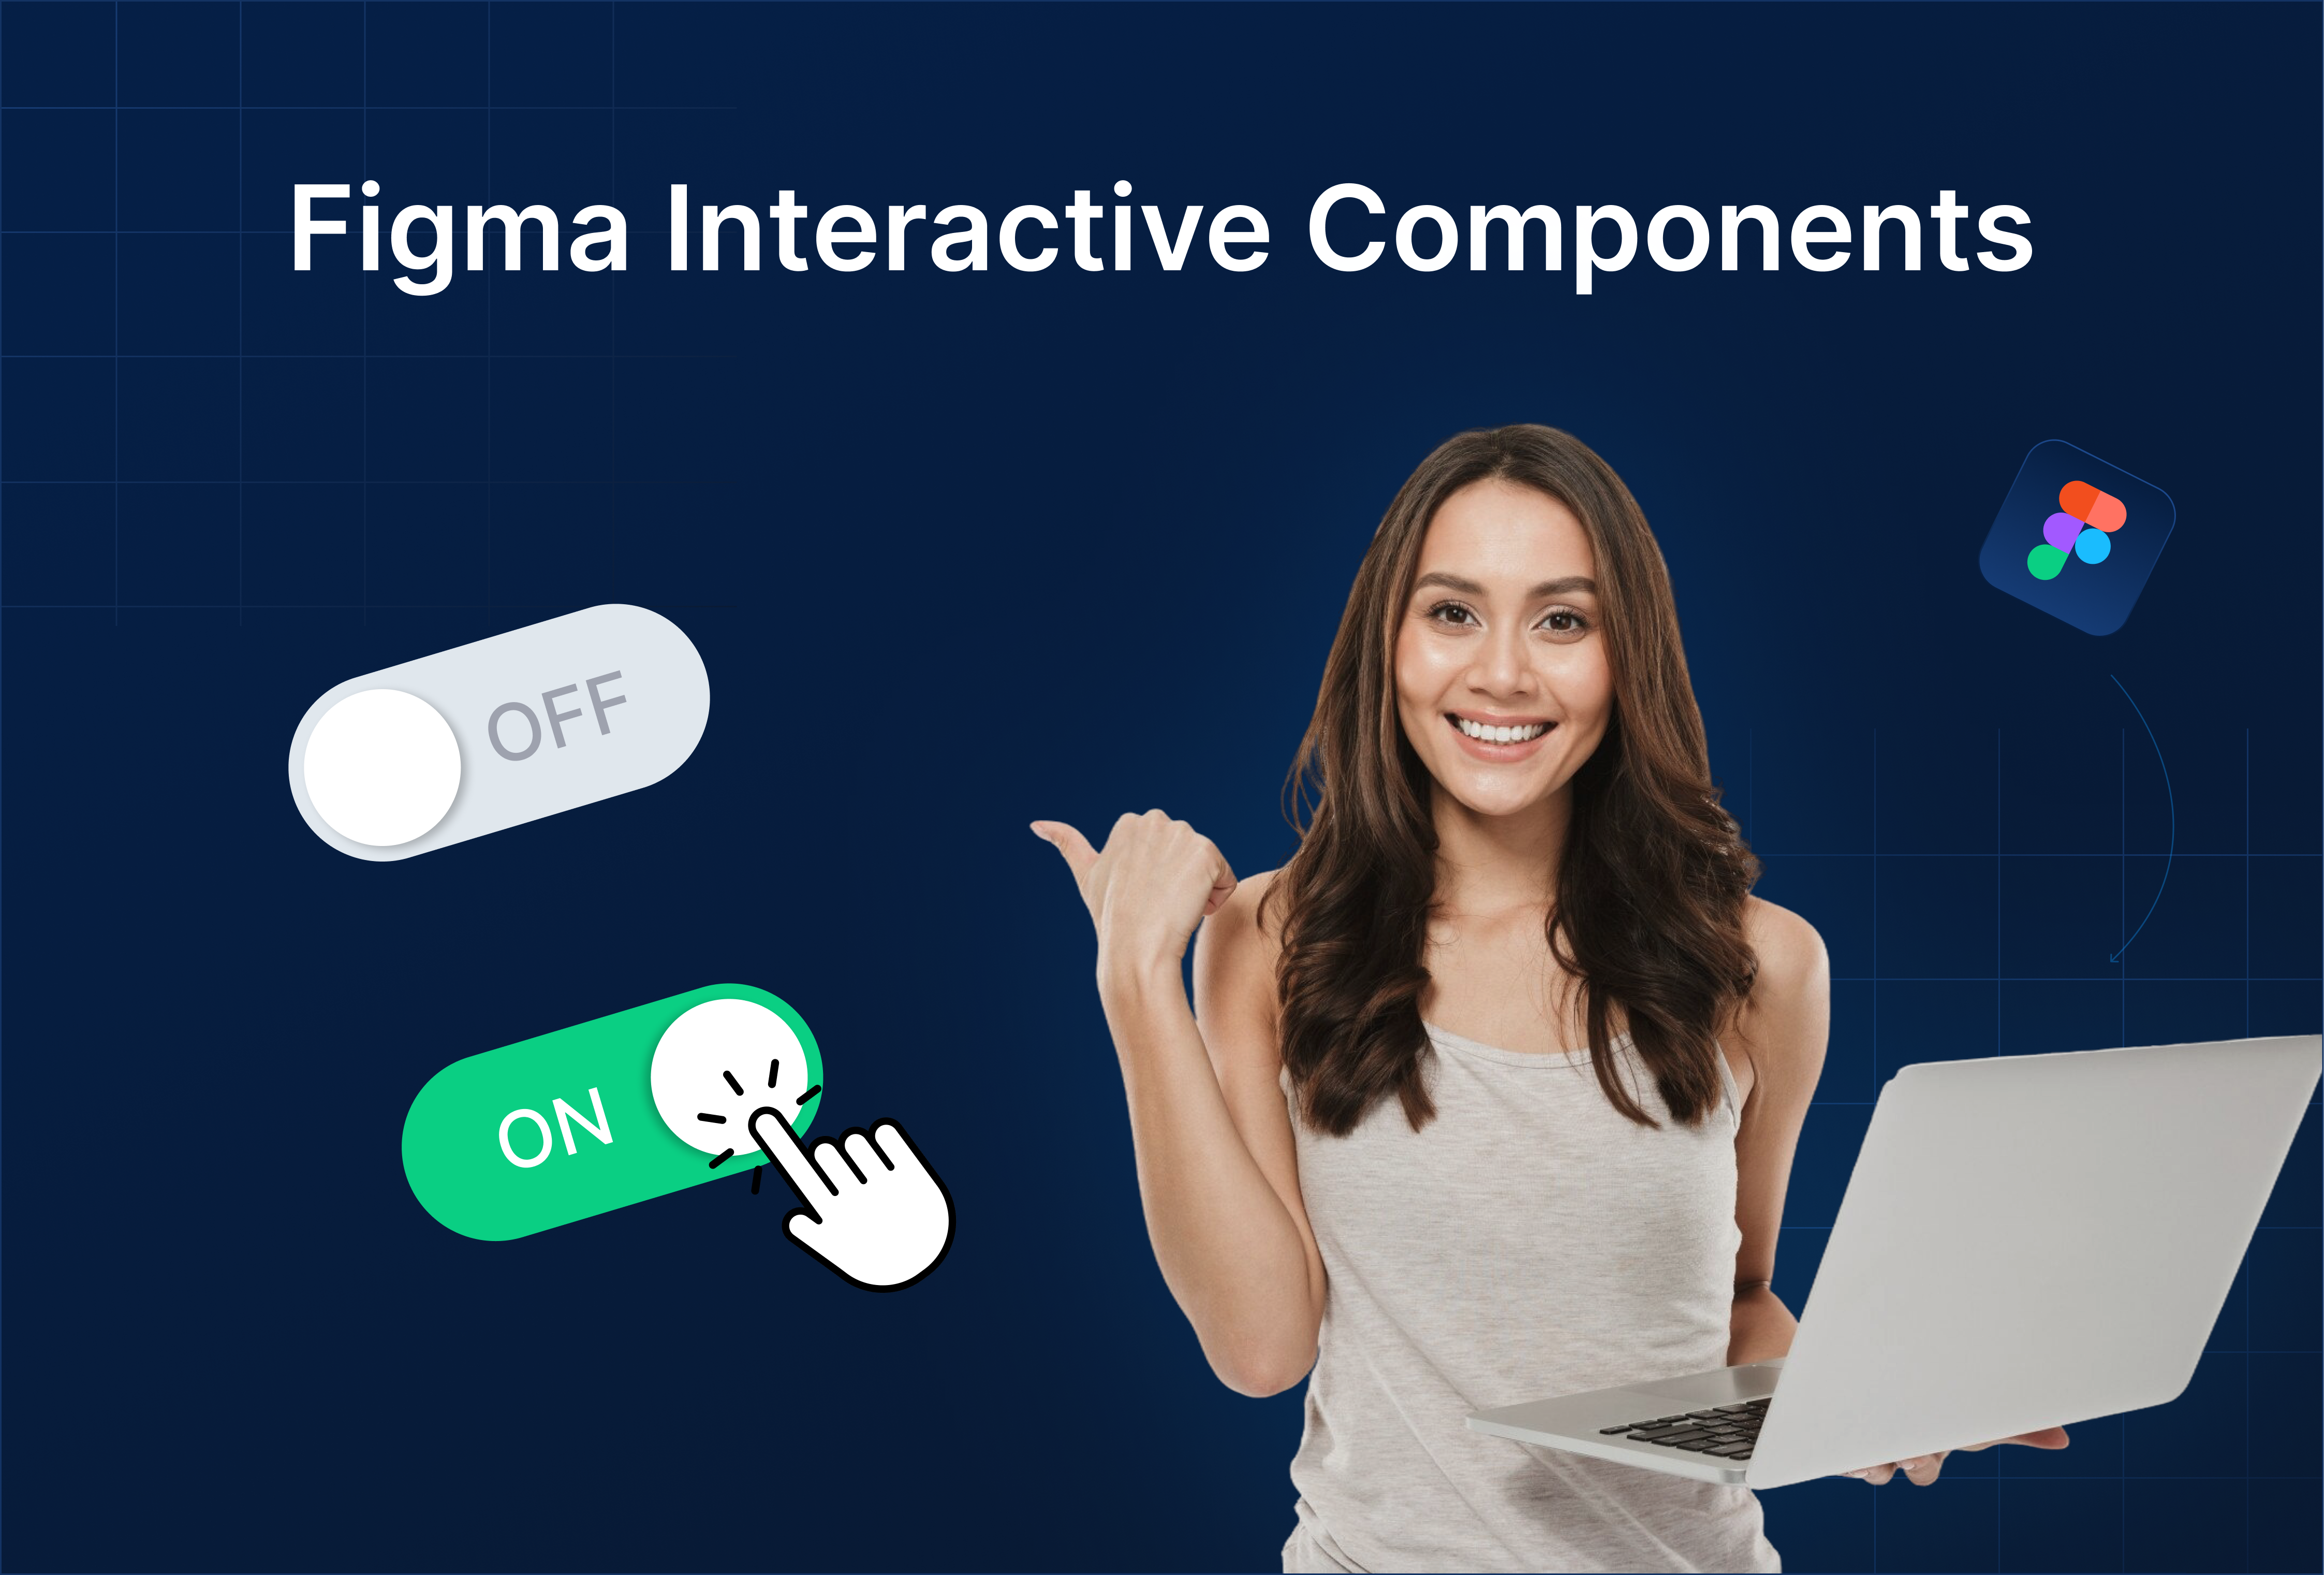
5. Add Interactive Components
- Buttons with hover & click states.
- Toggle icons for “Like” or “Save.”
- Animated dropdown for “Categories” filter.
6. Share for Feedback
Click Share → Prototype Link → Comment Access
Tag teammates for usability feedback directly on the prototype.

%201.png?width=1016&height=912&name=image%20(54)%201.png)