
3 Minutes Read
Listen to the Blog
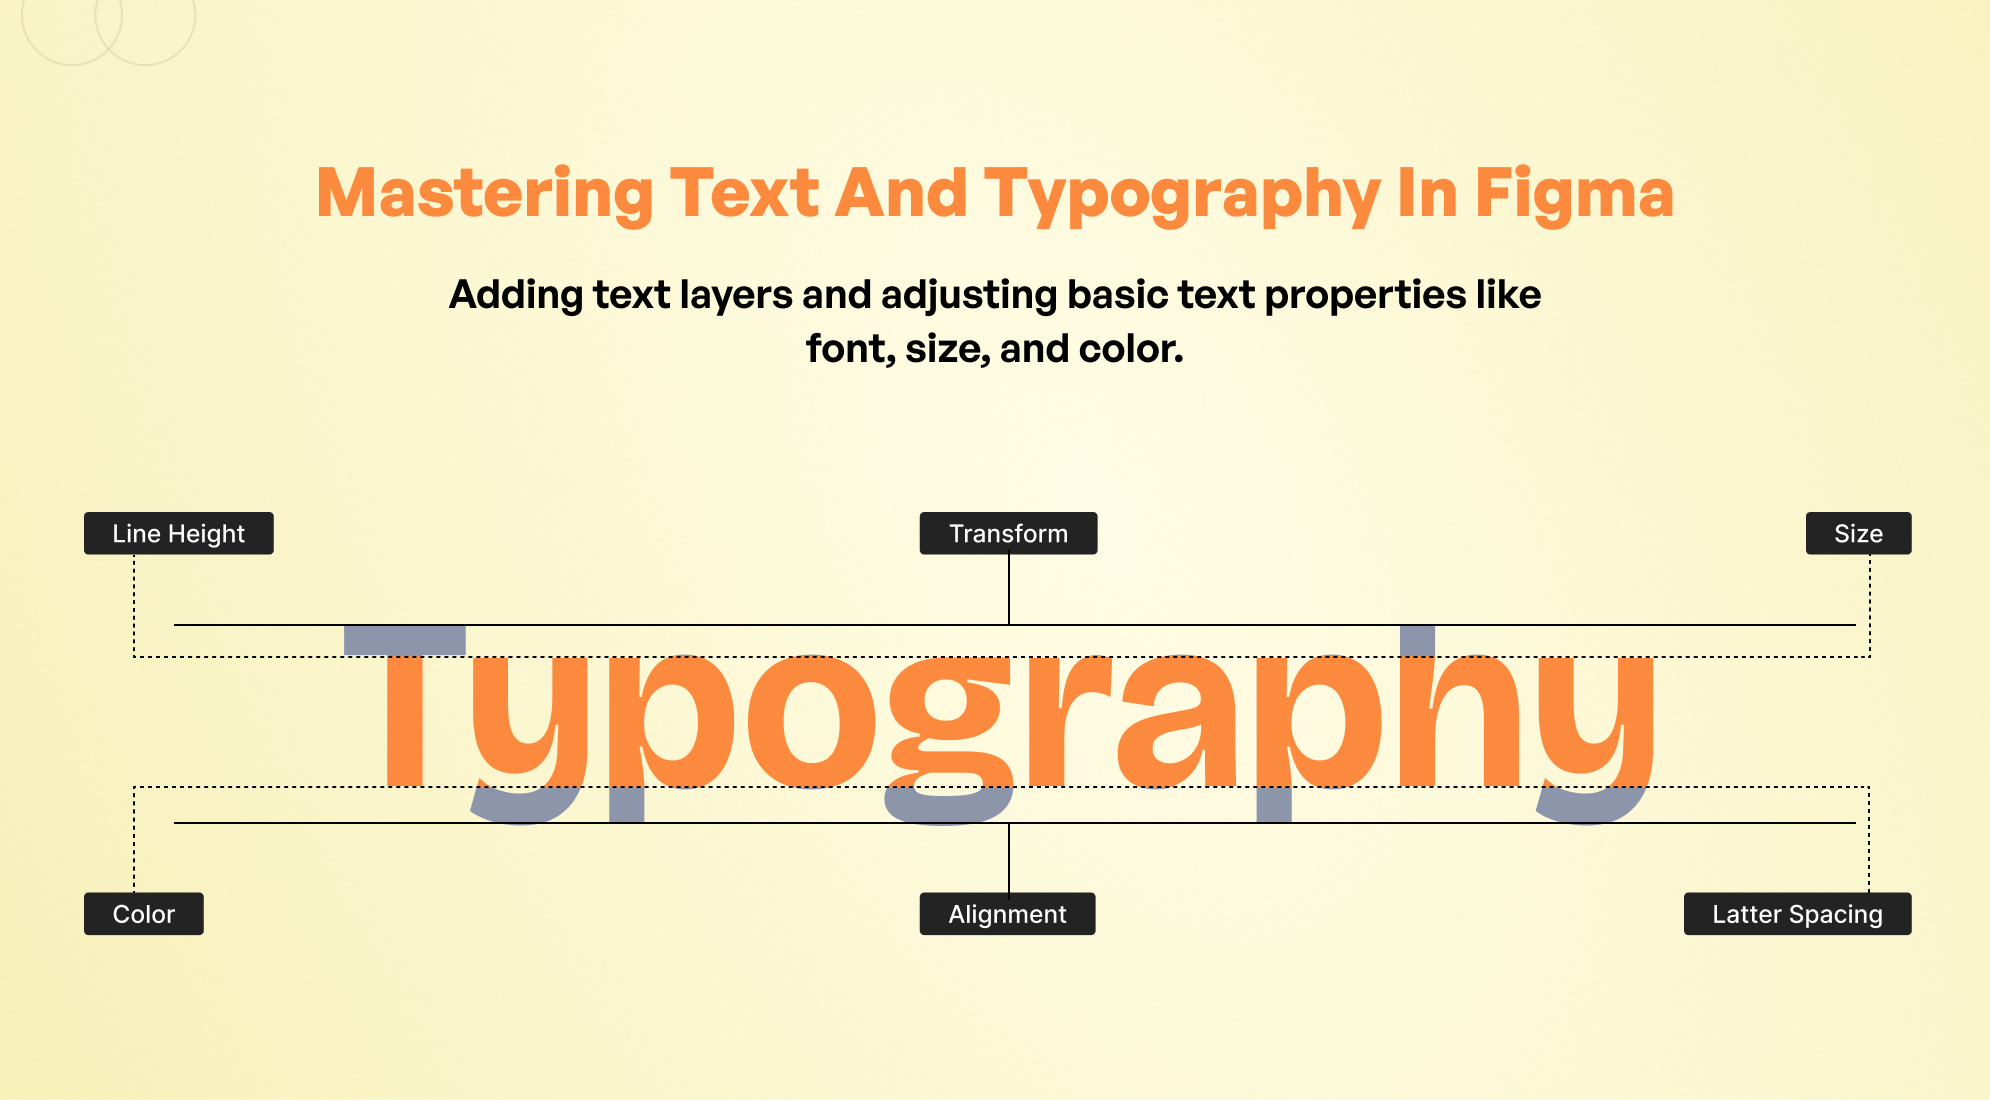
In this blog article, we will guide you through the process of adding text layers and adjusting basic text properties like font, size, and color. Whether you're a beginner or looking to hone your skills, this tutorial will help you create polished and professional text in your designs.
Adding Text Layers:
- Click on the Text tool (T) in the toolbar or simply press the T key on your keyboard.
- Click once on the canvas to create a point text layer, which expands as you type.
- Click and drag to create a text box with defined boundaries, useful for paragraphs or larger bodies of text.
- Begin typing your text. You can always edit the text later by double-clicking on the text layer or using the Text tool.

Once you have your text layer, it's time to adjust its properties to fit your design.
Changing the Font:
- Click on the text layer you want to change the font.
- In the properties panel on the right, click on the font name to open the font dropdown menu.
- Choose Font: Scroll through the list or use the search bar to find the desired font. Figma supports Google Fonts and allows you to add custom fonts as well.

Adjusting Font Size:
- Click on the text layer you want to resize the font.
- In the properties panel, enter a new value in the font size field or use the up and down arrows to adjust the size incrementally.

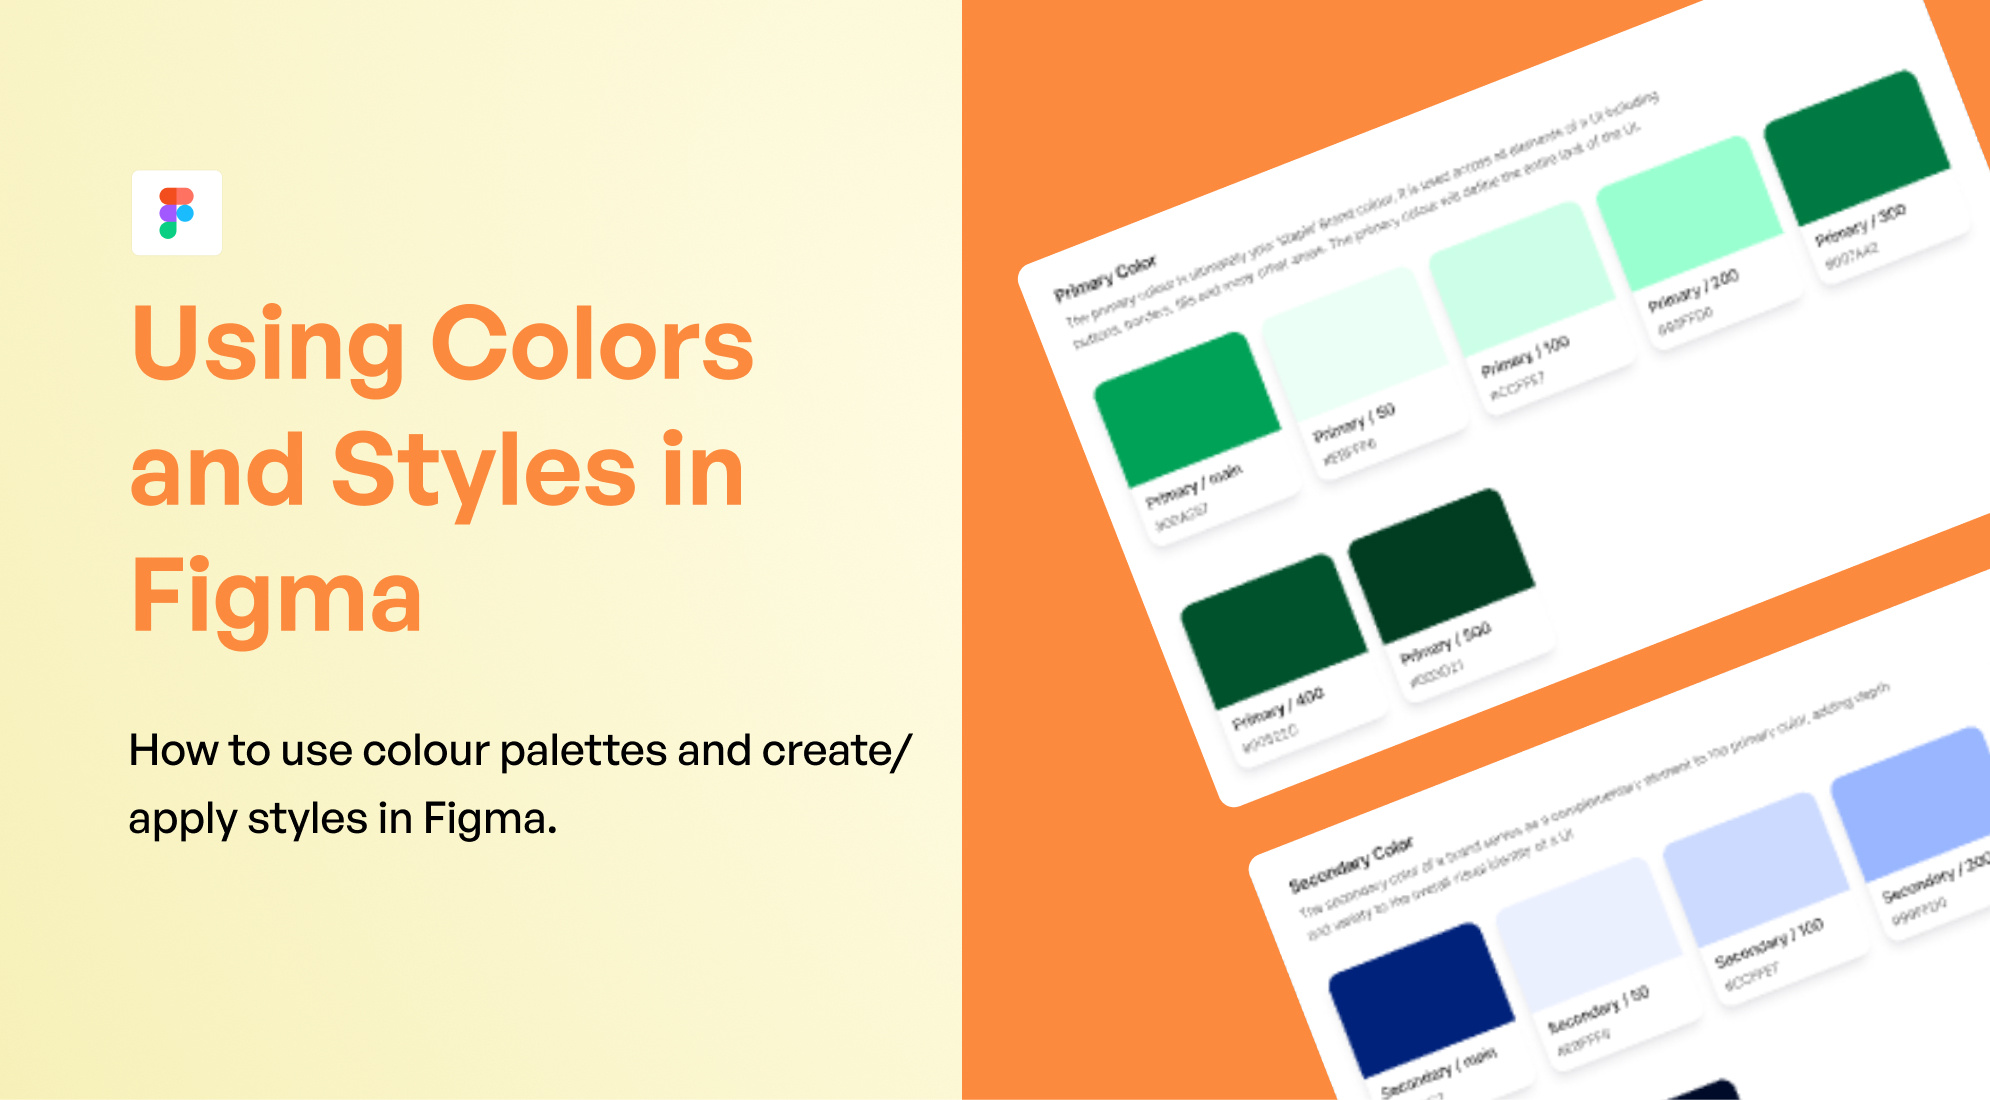
Changing Text Color:
- Click on the text layer you want to change text color.
- In the properties panel, click on the color swatch next to the Fill label to open the color picker.
- Use the color picker to choose a new color. You can enter a hex code, adjust the sliders, or pick a color from the canvas using the eyedropper tool.

Line Height and Letter Spacing:
- Click on the text layer.
- Adjust Line Height: In the properties panel, find the Line height field. Enter a value to adjust the space between lines of text.
- Adjust Letter Spacing: In the properties panel, find the Letter spacing field. Enter a value to adjust the space between characters.

Text Alignment and Transformations
- Click on the text layer you want to edit.
- Align Text: Use the alignment buttons in the properties panel to align your text left, center, right, or justify it.

- Transform Text: In the properties panel, you can also transform your text to uppercase, lowercase, or title case using the text transform options.

Best Practices for Text and Typography in Figma
- Use Consistent Fonts: Stick to a limited number of fonts to maintain a cohesive design. Too many fonts can make your design look cluttered
- Maintain Hierarchy: Use different font sizes, weights, and colors to create a visual hierarchy. This helps guide the user's eye through the design.
- Consider Readability: Ensure that your text is legible. Avoid using overly decorative fonts for large bodies of text and ensure there is sufficient contrast between the text and background.
- Use Styles: Figma allows you to create text styles that can be applied across your design. This ensures consistency and makes it easy to update text properties globally.
Conclusion
Mastering text and typography in Figma is essential for creating professional and polished designs. By understanding how to add and adjust text layers, you can significantly enhance the visual appeal and functionality of your designs. Practice these techniques and experiment with different styles to find what works best for your projects. Happy designing!


%201.png?width=1016&height=912&name=image%20(54)%201.png)