
4 Minutes Read
Listen to the Blog
Figma is a collaborative interface design tool that’s taken the design world by storm. Unlike Sketch or Adobe Illustrator, which are standalone applications, Figma can be run entirely from a web browser and, therefore, works not only on Macs but also on PCs running Windows or Linux, and even on Chromebooks. It's also free to use!
Another big advantage of Figma is that it allows real-time collaboration on the same file.
In Figma, you can save time and streamline your workflow by sharing a link to your Figma file instead of exporting static images. This allows clients and colleagues to view and interact with the latest version of your work directly in their browsers.
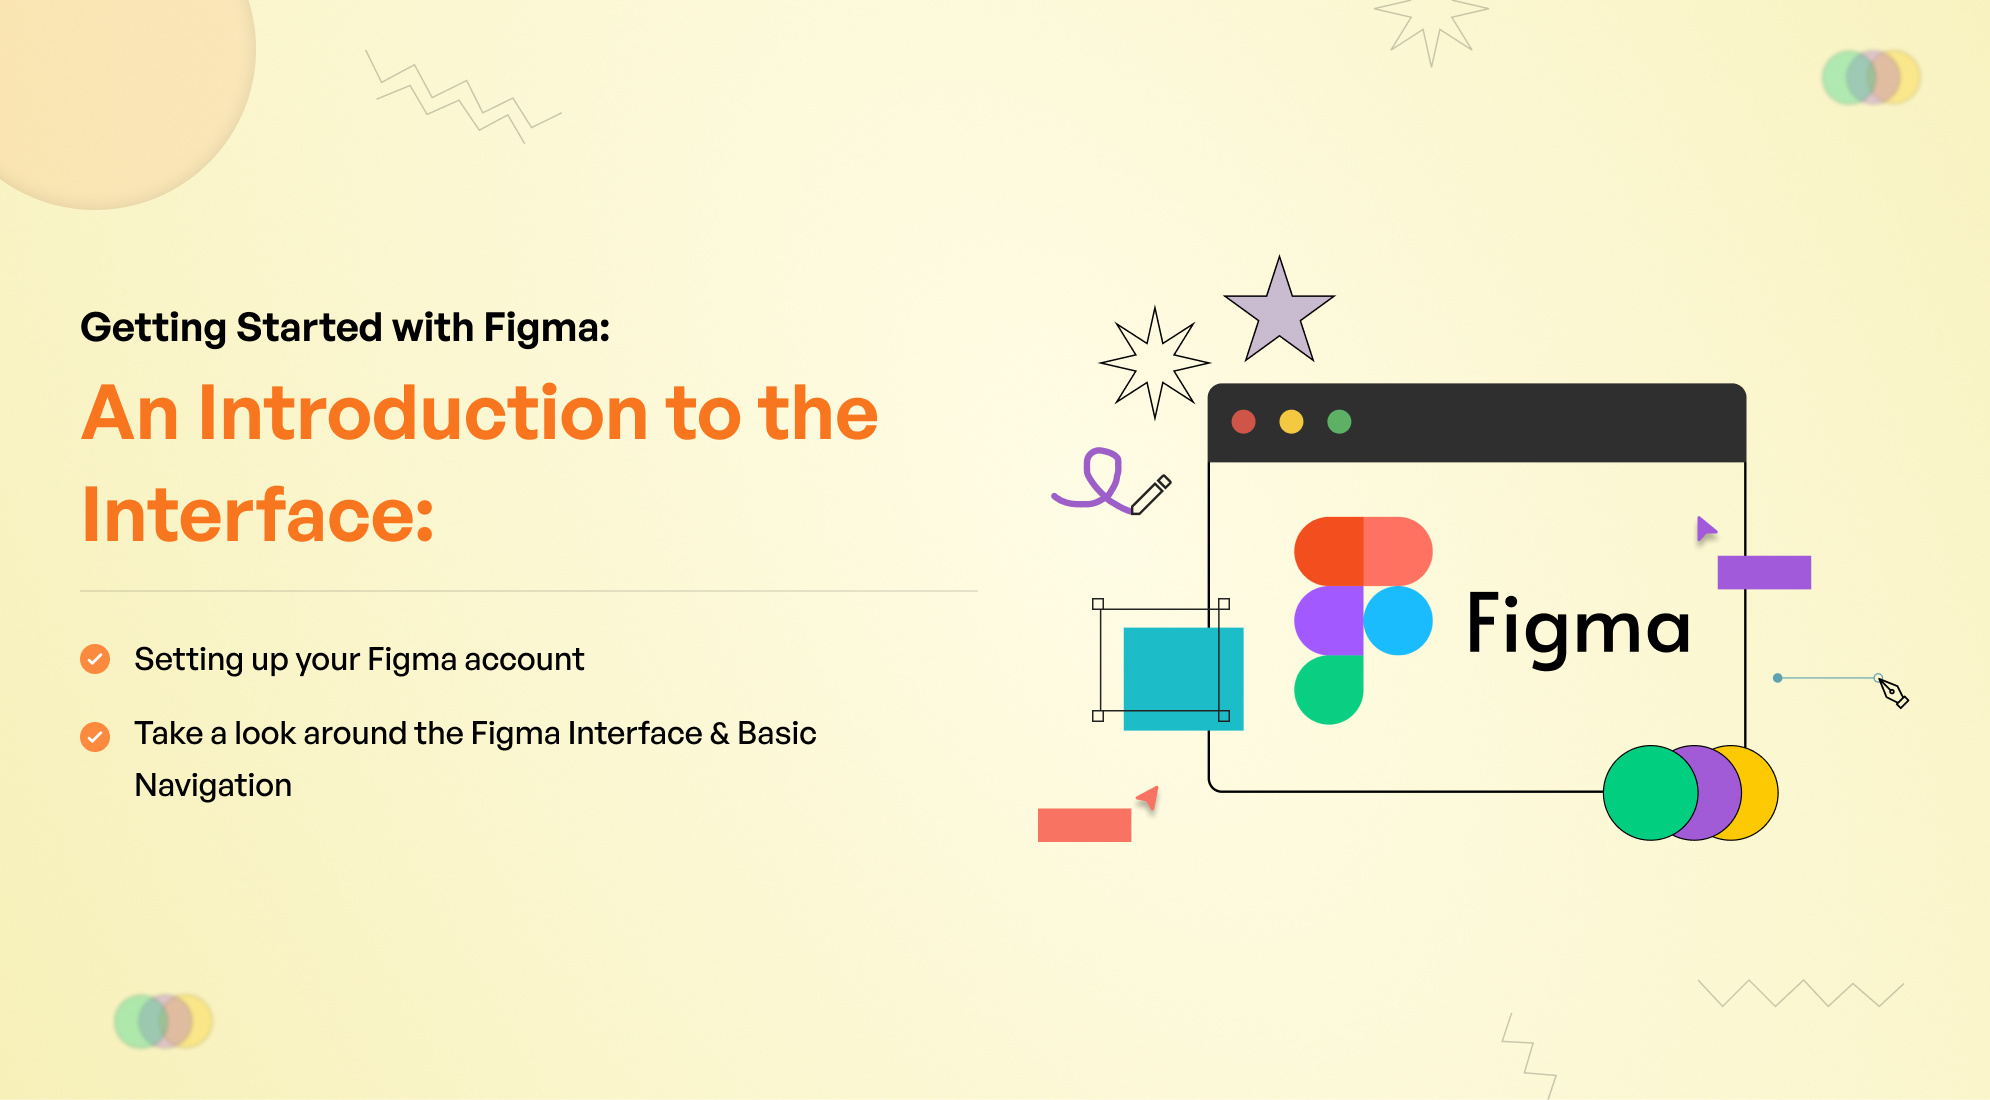
Learning Objectives
- Setting up your Figma account
- Take a look around the Figma Interface & Basic Navigation
1. Setting up your Figma account
- Visit the Figma Website: Go to figma.com.

- Sign Up: Click on the "Sign up" button. You can create an account using your email, Google account, or Slack account.

- Verify Your Email: Check your email for a verification message from Figma and follow the instructions to verify your account.
- Set Up Your Profile: Fill in your profile details such as your name and profile picture.

- Start Using Figma: Once your account is set up, you can start creating designs, joining teams, and sharing your work with others.

2. Take a look around the Figma Interface & Basic Navigation
The Figma interface is user-friendly and modern, with a clean design. It features a central canvas for your work, a top toolbar for essential tools, a left sidebar for layers and pages, and a right sidebar for properties and settings.
- Menu: Unlike regular desktop design apps, Figma’s menu is accessed by clicking the Figma logo in the top-left corner. Take a moment to explore this dropdown menu. You can also search for commands by clicking the magnifying glass and typing what you need. For example, type 'rectangle' to find the Rectangle Tool and its shortcut (R).
- Tools: Here, you can easily access the most commonly used tools: Move, Frame, Shapes, Pen, and Text. We'll explore these tools in detail over the next few days!
- Action: This area shows extra options for whatever object you have selected on your canvas. When no object is selected (as shown above), Figma displays the file name.
- Collaboration and View Options: The right side of the toolbar, you can find the file sharing options and see who else is viewing your file in real-time. You’ll also find view and zoom options.
- Layers: Also known simply as the “left sidebar,” this is where every element in the file is listed and organized into Pages, Frames and Groups.
- Canvas: This is where you’ll create all of your designs!
- Properties: The properties panel offers contextual information and settings for whatever object is selected. In the image above, we’re seeing options for the Canvas itself. By default, you’re viewing the Design tab, but there is also a separate tab for setting up a Prototype - which we’ll cover later in this series.

Conclusion
Figma is a powerful Ui tool for interface design that offers real-time collaboration and can be accessed from any device with an internet connection. By following the steps to set up your account and familiarizing yourself with the interface, you can start creating and sharing designs seamlessly. Explore the various tools and features of Figma to enhance your design workflow and stay connected with clients and colleagues. Dive into the world of Figma and unleash your creativity collaboratively and efficiently. Start your Figma journey today and see the possibilities it holds for your design projects!


%201.png?width=1016&height=912&name=image%20(54)%201.png)