
4 Minutes Read
Listen to the Blog
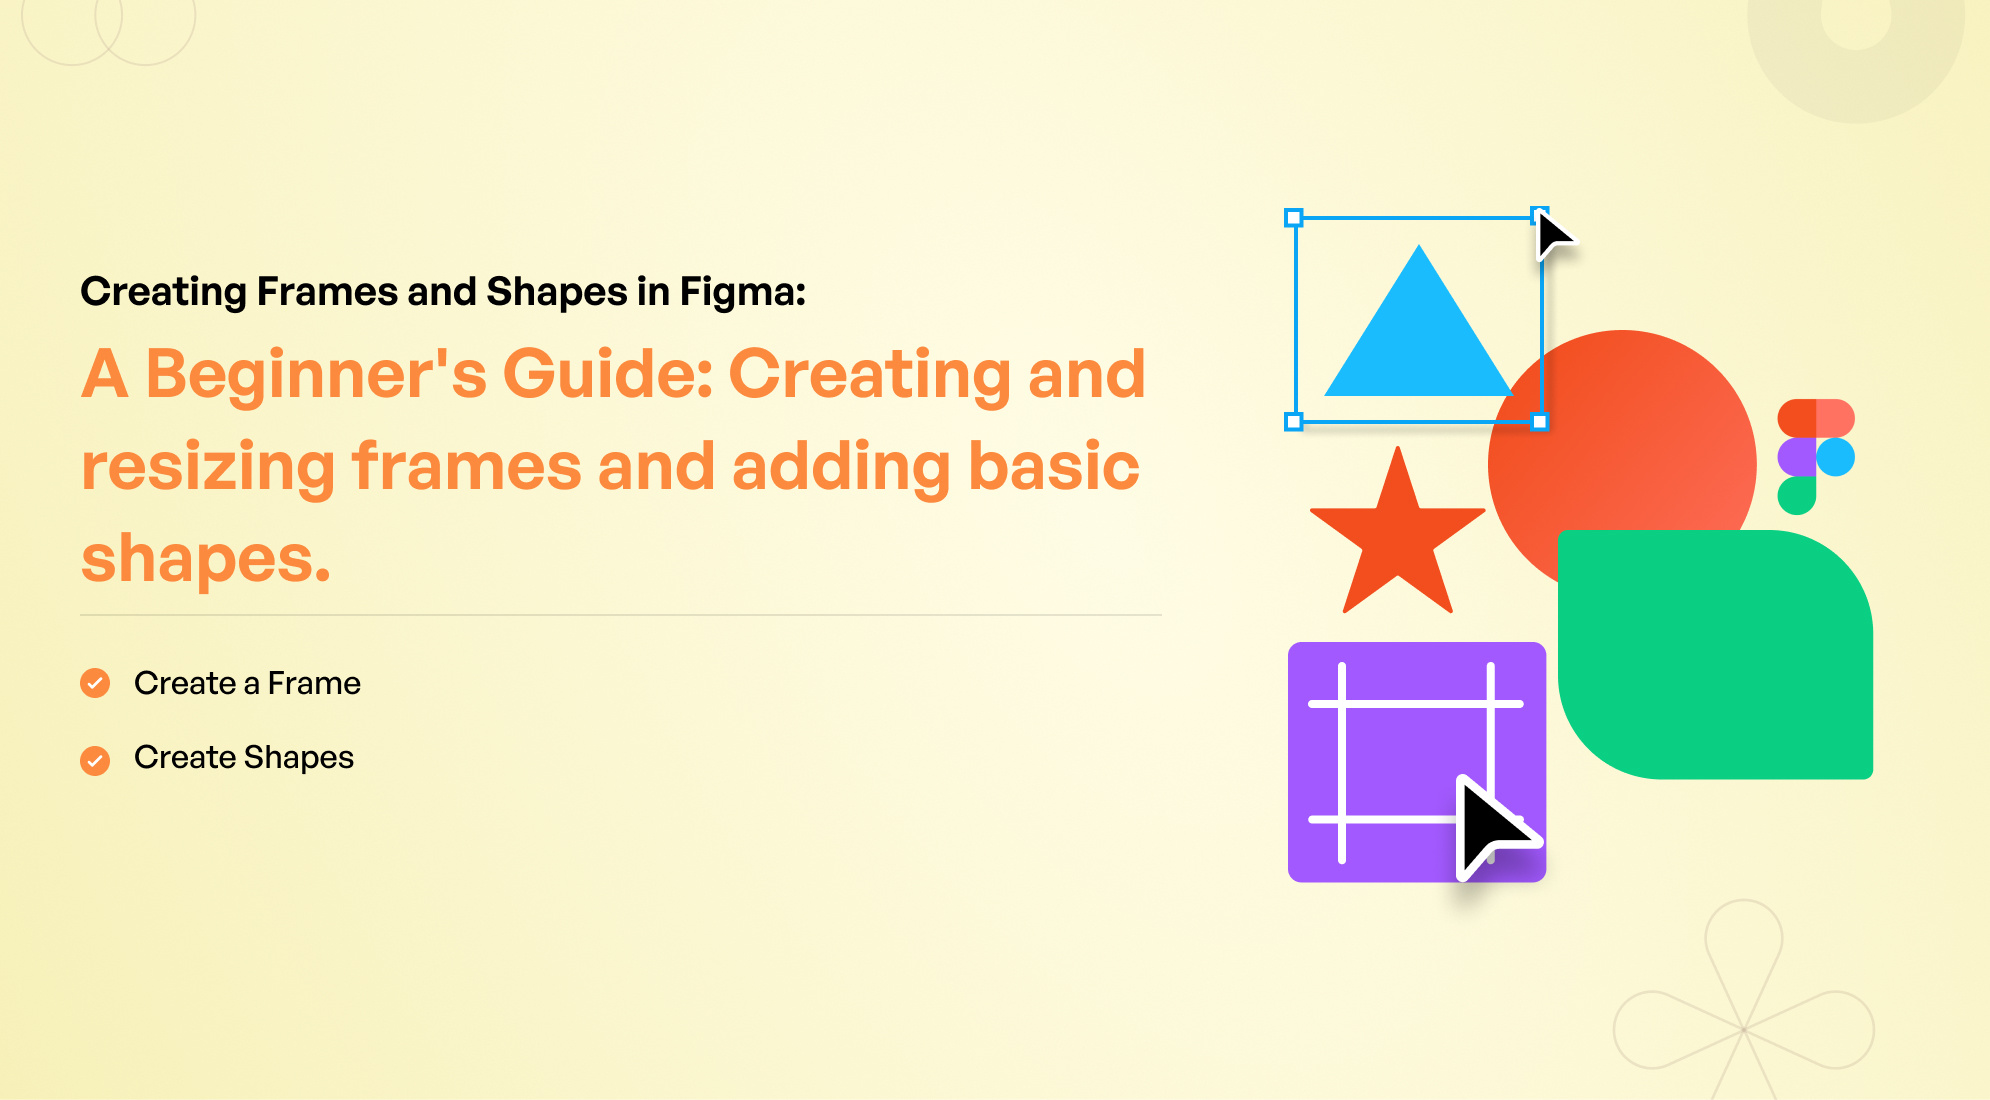
Learn how to create and customize frames and shapes in Figma with this beginner-friendly guide. This series will introduce you to the basics of using Figma's powerful design tools, enabling you to build well-organized and visually appealing projects. You'll discover how to create frames, which are essential for structuring your design elements and maintaining a clean workspace. Additionally, you'll learn to draw basic shapes like rectangles, circles, and lines, and understand how to customize them to fit your design needs by adjusting their size, color, and borders.
Furthermore, this guide will teach you how to combine multiple shapes to create more complex and intricate designs, giving your projects a unique and professional touch. With practical tips and step-by-step instructions, you'll quickly become comfortable with Figma's interface and tools, allowing you to focus on unleashing your creativity. By the end of this guide, you'll be well-equipped to create and customize frames and shapes in Figma, helping you to craft beautiful, organized, and effective designs with confidence.
Learning Objectives
- Create a Frame
- Create Shapes
1. Create a Frame
In Figma, a Frame acts as a container for other elements, similar to an Artboard in Sketch or Adobe Illustrator. To create a Frame, press the F key to select the Frame Tool, or click the Frame tool icon in the toolbar at the top of the window. If you're familiar with Sketch, you can also press A (for "Artboard").
Using keyboard shortcuts is highly recommended in these tutorials, as they can greatly enhance your workflow efficiency. In the short videos throughout this course, you'll see the keystrokes demonstrated on Mac computers.
There are two main methods to create a Frame in Figma:
- Click and Drag: Click and drag on the canvas area to draw a custom-sized Frame.

- Pre-set Frame Size: Choose a pre-set Frame size from the Properties panel on the right-hand side of the window. For example, you can select the iPhone SE template.

Try both methods now to get comfortable with creating Frames in Figma!
2. Create a Shapes
The Shape Tool in Figma is a feature that allows you to create basic geometric shapes such as rectangles, circles, lines, polygons, and stars. These shapes can be used as building blocks for more complex designs, helping you craft visually appealing and organized designs.
To access the Shape Tool, you can use the following methods:
- Click on the Shape Tool icon in the toolbar at the top of the window. A drop-down menu will appear, allowing you to select from various shape options

- You can use shortcut keys to quickly select the desired shape.
Creating Shapes
Rectangle
- Shortcut: Press R
- Method: Click and drag on the canvas to draw a rectangle. Hold Shift while dragging to create a perfect square.
Oval
- Shortcut: Press O
- Method: Click and drag on the canvas to draw an oval. Hold Shift while dragging to create a perfect circle.
Line
- Shortcut: Press L
- Method: Click and drag to draw a line. Hold Shift to constrain the angle to 45-degree increments.
Polygon
- Shortcut: Press P
- Method: Click and drag to draw a polygon. Use the Properties panel to adjust the number of sides.
Star
- Shortcut: Press U
- Method: Click and drag to draw a star. Use the Properties panel to adjust the number of points and inner radius.
Customizing Shapes
Once you’ve created a shape, you can customize its properties using the Properties panel on the right-hand side of the window. Here are some common customization options:
- Fill Color: Change the fill color by selecting a color from the Fill section.

- Stroke: Add and customize the border (stroke) of the shape, adjusting the color, width, and style (solid, dashed, etc.).

- Size and Position: Manually adjust the size and position of the shape by entering specific values.

- Corner Radius: For rectangles, you can adjust the corner radius to create rounded corners.

Practical Tips
- Snap to Grid: Enable snapping to grid in the View menu to align shapes precisely.
- Duplicate Shapes: Quickly duplicate shapes by selecting them and pressing Ctrl/Cmd + D.
- Group Shapes: Group multiple shapes together by selecting them and pressing Ctrl/Cmd + G. This makes it easier to move and manage them as a single unit.
Conclusion
Mastering the creation and customization of frames and shapes in Figma will greatly enhance your design workflow. This guide introduced the basics of using Figma's tools to build organized and visually appealing projects.
You learned to create frames, which help structure your design elements, and to use the Shape Tool for drawing rectangles, circles, lines, polygons, and stars. Customizing these shapes by adjusting size, color, and borders was also covered.


%201.png?width=1016&height=912&name=image%20(54)%201.png)