
4 Minutes Read
Listen to the Blog
When working on complex designs, efficiency and consistency are key. Figma’s components feature offers designers powerful tools to create reusable elements, maintain design uniformity, and speed up their workflow. In this article, we’ll dive deeper into two advanced techniques: nesting components and using variants for more complex designs.
What Are Components?
In Figma, a component is a reusable design element that can be used throughout your project. Think of it as a master template for UI elements like buttons, icons, or even entire sections of a page. Any changes made to the component automatically reflect across all instances, ensuring consistency and reducing the time spent updating repetitive elements.
What Are Nested Components?
Nesting components refers to placing one component inside another. This technique is especially useful for designs where several elements interact, but you want to maintain flexibility for future adjustments. For instance, you could create a master component for a button and then nest different icons or text labels inside, allowing you to easily switch out or modify elements without affecting the whole design.
This strategy allows you to build more intricate designs while keeping your elements modular and easy to update. Nesting components also promotes scalability, which is crucial in more extensive design systems.
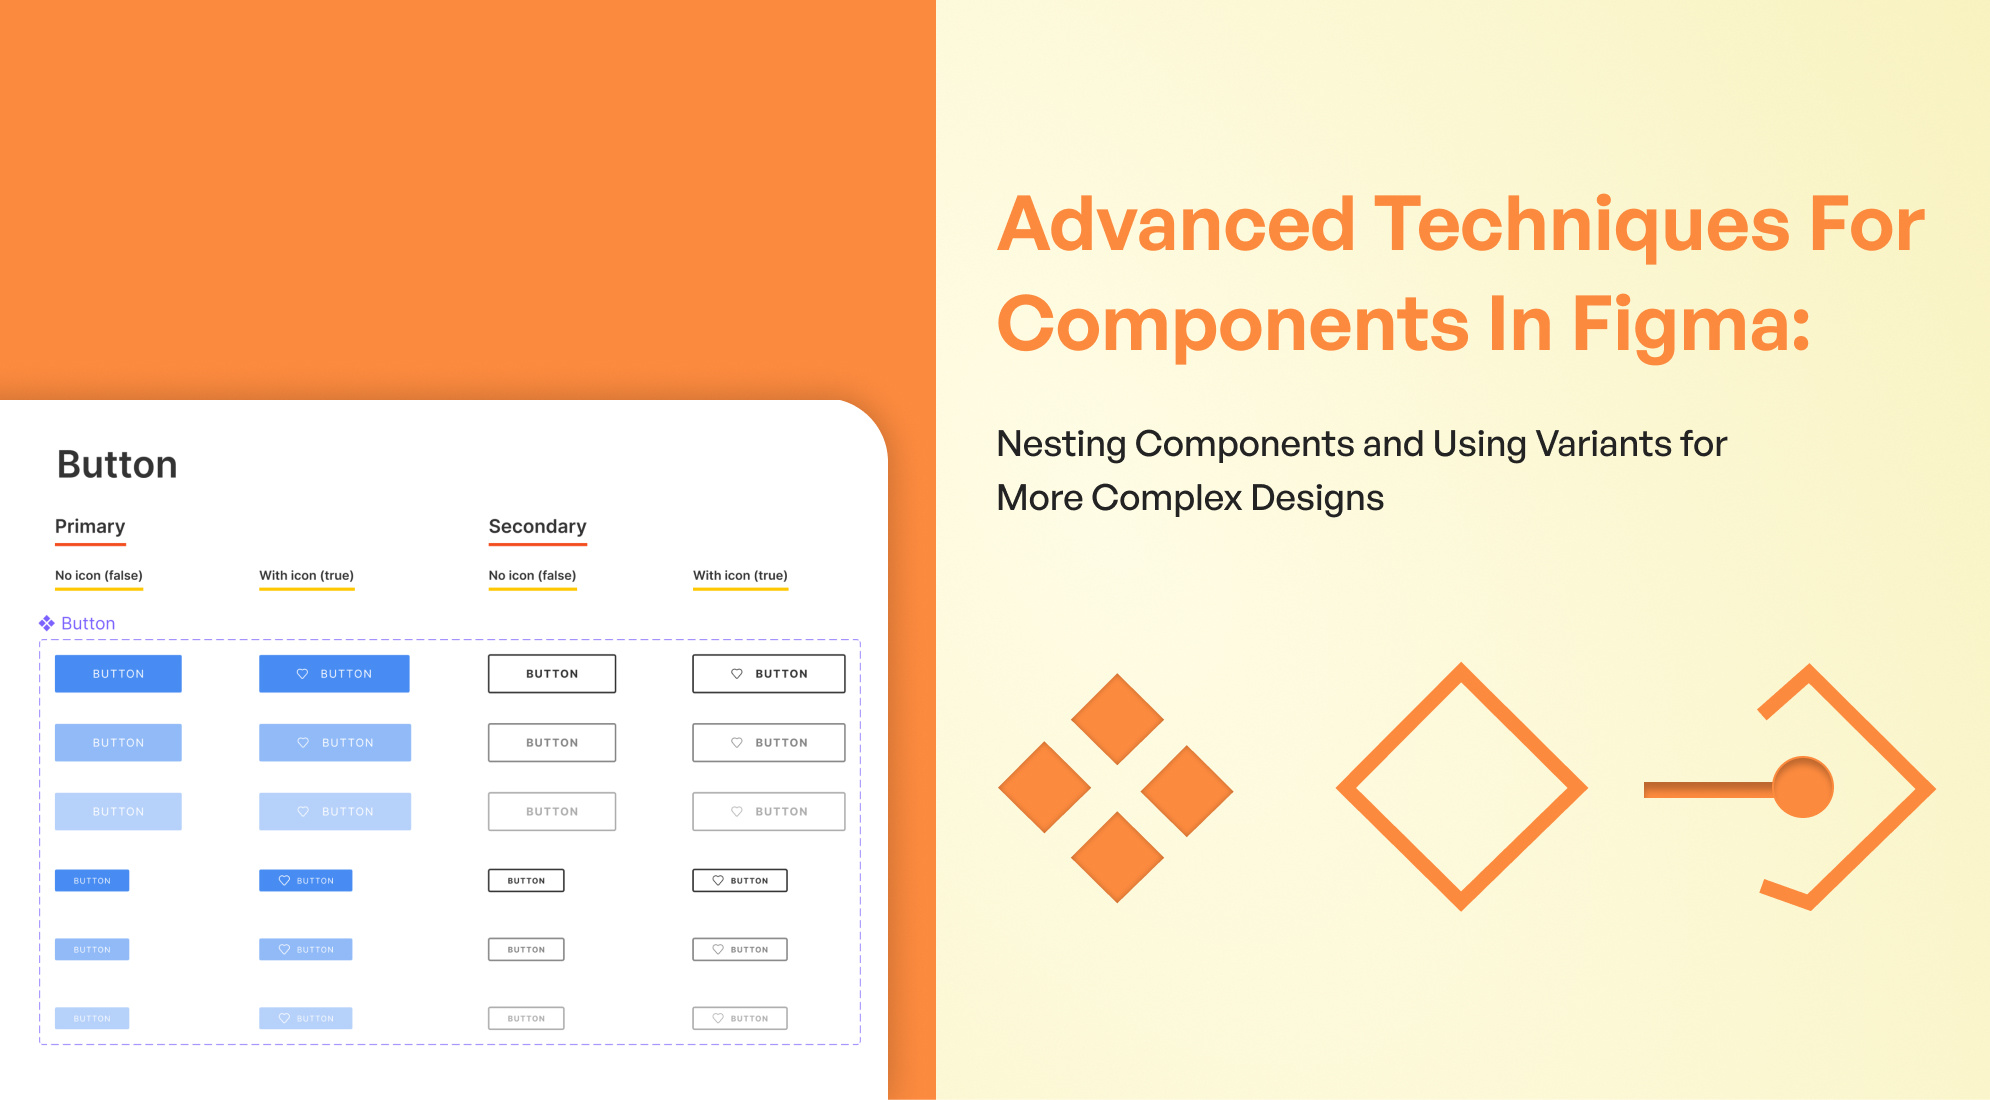
About Variants
Variants in Figma enable designers to group multiple states of a component under one umbrella. For example, a button component could have different styles for hover, active, and disabled states. With variants, you can manage these styles more efficiently without duplicating components.
Variants also come in handy for things like form fields, cards, or icons that need multiple visual representations based on interactions or design requirements. By organizing these variants within a component set, designers can easily switch between states or appearances, streamlining the design process.
Steps to Create Nested Components and Variants
- Create Your Base Component
Start by designing a base element like a button or icon. Ensure it’s simple and clean, as this will serve as the foundation for your nested component.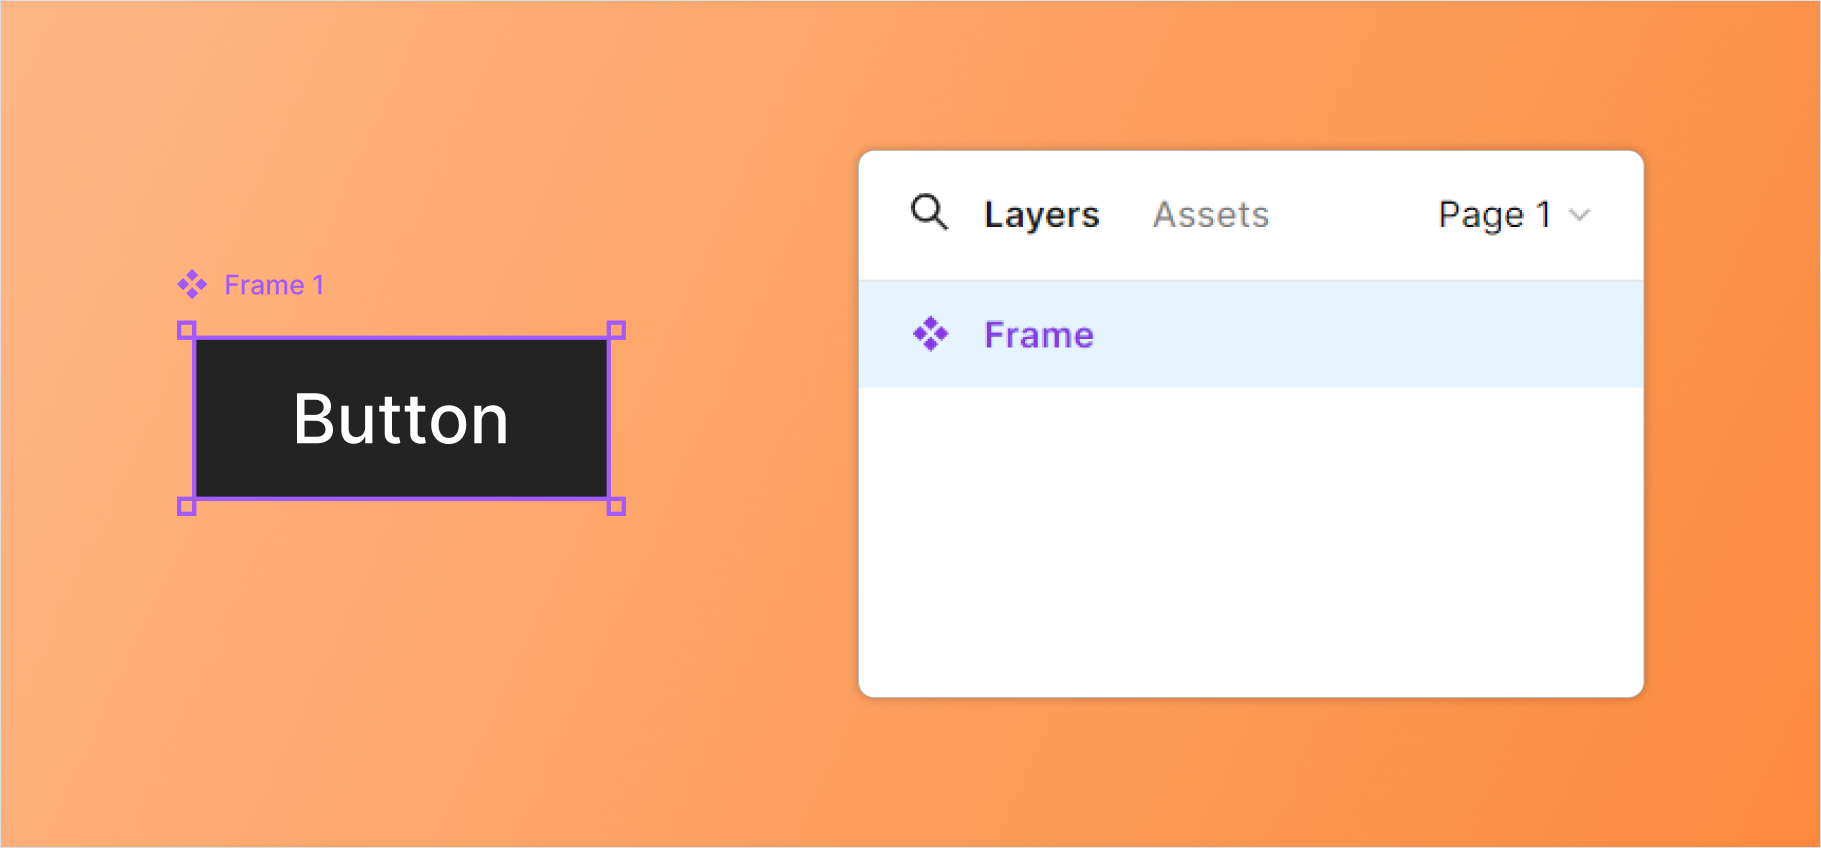
- Nest Components
Once your base component is created, you can begin nesting other elements like text, icons, or images. To do this, drag and drop another component into the base. Adjust its placement and size to fit naturally within the design.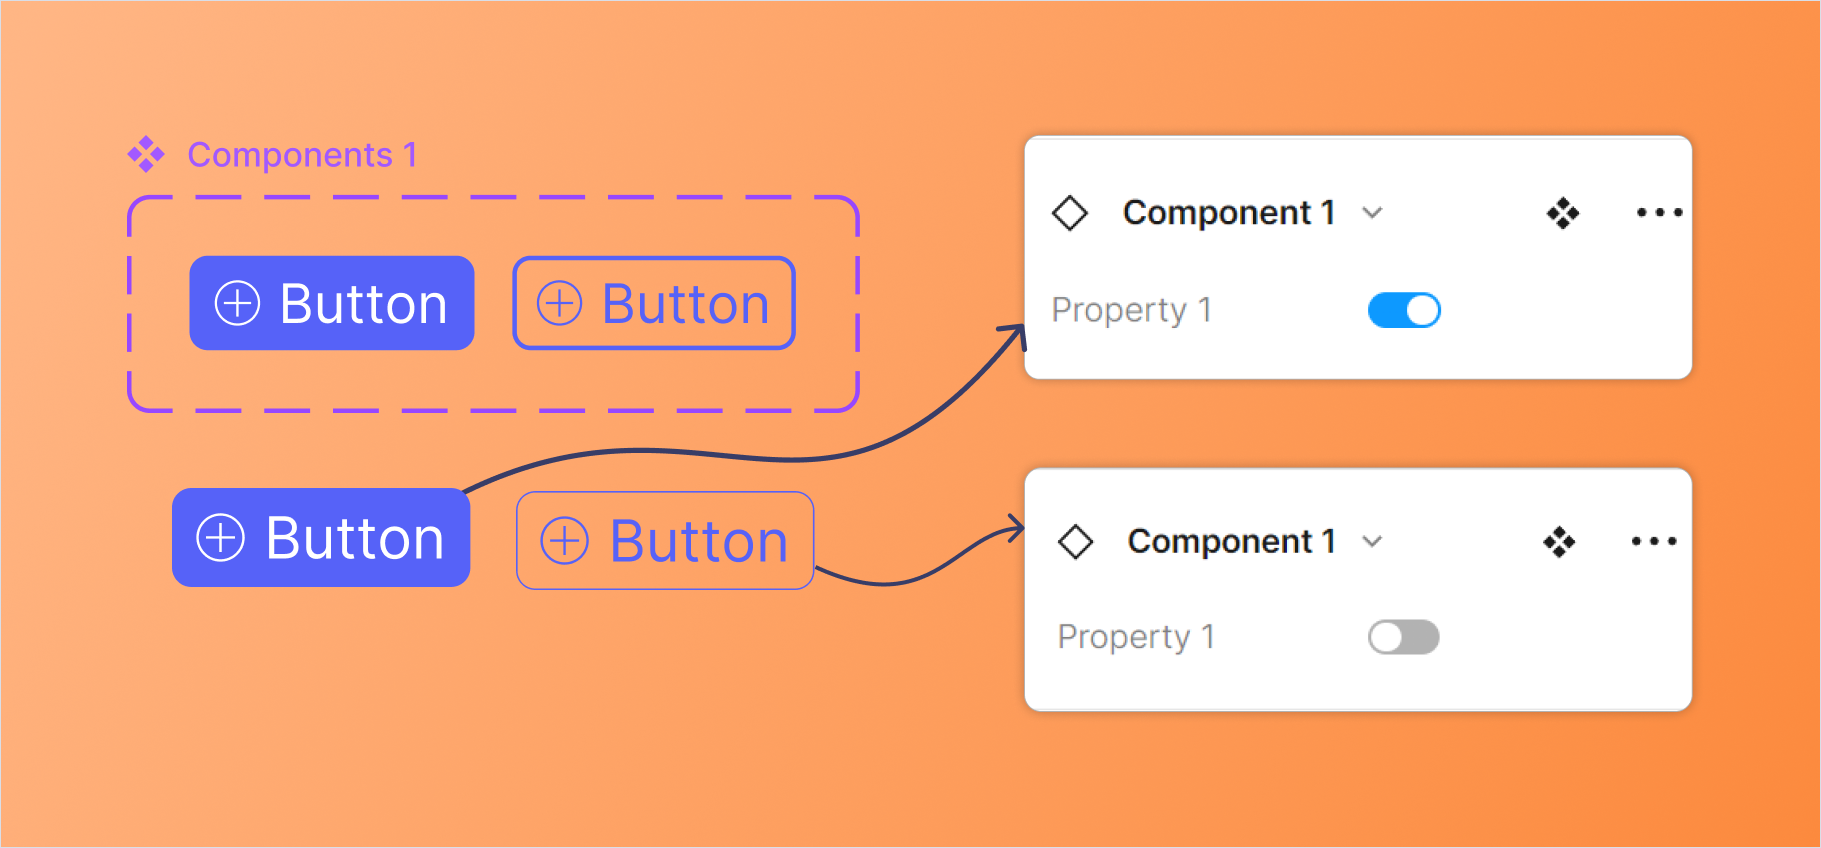
- Variants
To create variants, select your base component and go to the Variants section in Figma. Add new variants representing different states (e.g., default, hover, or pressed). You can now toggle between these states in your design.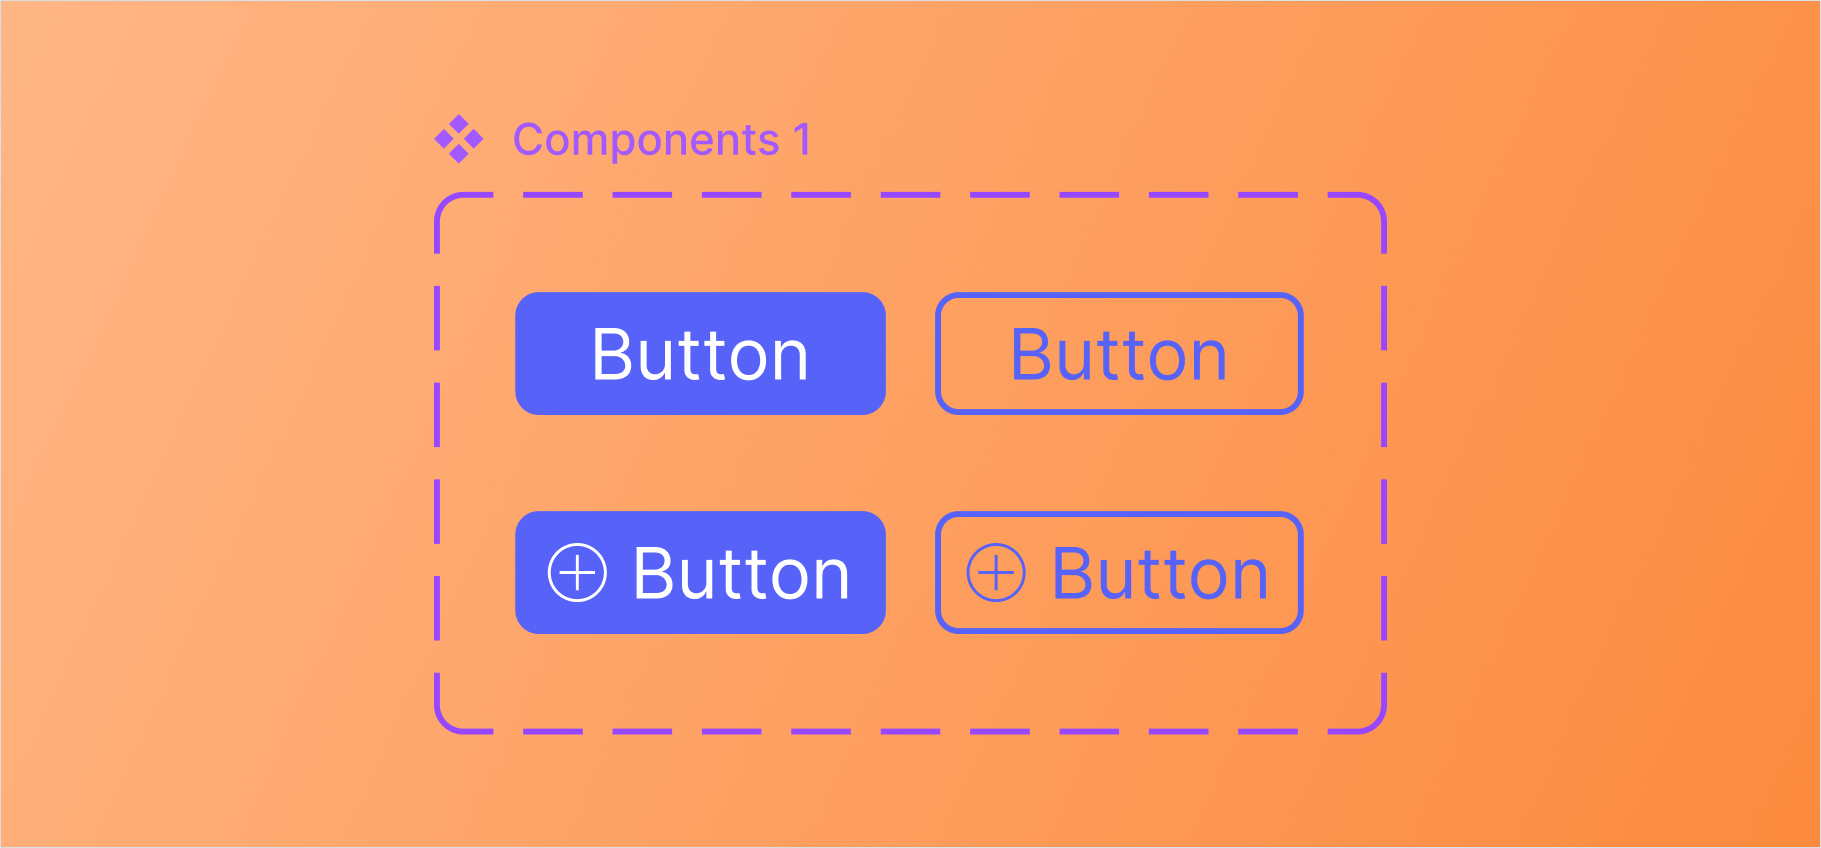
- Leverage Auto Layout
Combining nested components and variants with Figma’s Auto Layout feature makes the design more flexible. For example, you can nest an icon within a button and ensure it adjusts dynamically as the button’s size changes.
Practice Tips
- Start Simple: If you’re new to components, start by creating simple reusable elements like buttons or form fields. Then, experiment with nesting and variants.
- Use Naming Conventions: Properly naming your components and variants helps you stay organized, especially when dealing with large-scale designs.
- Test Across Multiple Frames: Always test your components in different frames or screen sizes to ensure they behave as expected, especially if you’re using auto-layout features.
- Maintain Consistency: When working with nested components and variants, maintain a consistent design language and stick to your design system to avoid conflicts.
Conclusion
By mastering nesting components and using variants in Figma, you can design complex interfaces more efficiently and effectively. These advanced techniques allow you to maintain consistency across your projects, reduce manual updates, and make your designs scalable. Whether you’re working on a small project or a large design system, learning to use these features will help elevate your workflow to a more professional level.


%201.png?width=1016&height=912&name=image%20(54)%201.png)