
3 Minutes Read
Listen to the Blog
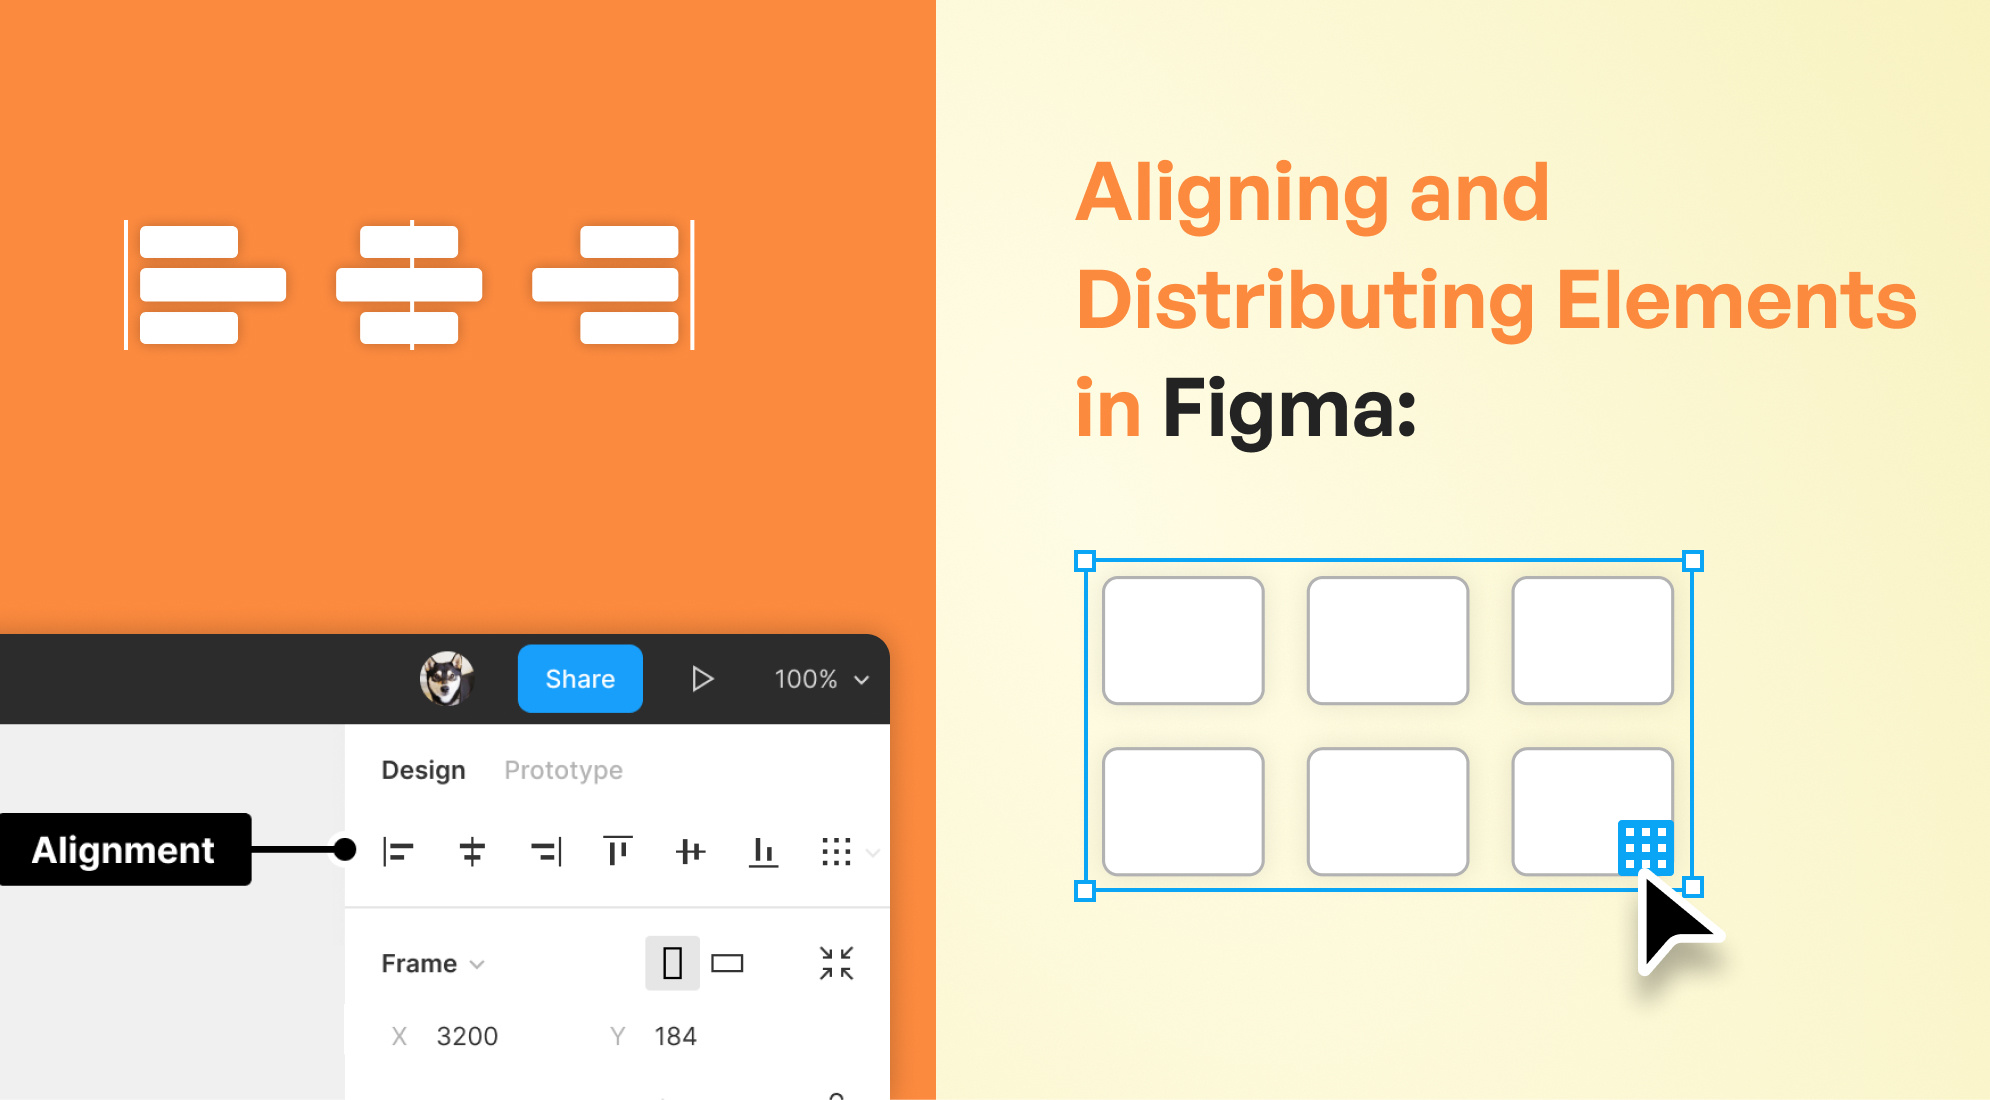
Aligning and distributing elements in Figma is essential for creating well-organized and aesthetically pleasing designs. Here’s a guide on how to do this effectively:
Aligning Elements
1. Aligning Using the Toolbar:-
- Select Elements: Click and drag to select multiple elements or use Shift + Click to select individual elements.
- Align Options: With your elements selected, you’ll see alignment options in the toolbar at the top. You can align elements:
- Left: Aligns to the leftmost edge.
- Center (Horizontal): Aligns to the center of the selection.
- Right: Aligns to the rightmost edge.
- Top: Aligns to the topmost edge.
- Middle (Vertical): Aligns to the vertical center.
- Bottom: Aligns to the bottommost edge.

2. Aligning Using the Alignment Panel:
After selecting your elements, the alignment panel will also appear in the right sidebar, providing the same options as the toolbar.
3. Smart Guides:
Figma provides smart guides that automatically appear when you move elements around. These guides help you align objects relative to other objects or the canvas itself.

4. Key Object Alignment:
Select multiple elements, then click on the element you want to align others to. This object will become the key object, and all other selected objects will align relative to it.

Distributing Elements Evenly
1. Distributing Using the Toolbar:-
- Select Elements: Just like with aligning, select the elements you want to distribute.
- Distribute Options: The distribute options are available next to the alignment options in the toolbar. You can distribute elements:
- Horizontally: Equal space between the left and right edges of each element.
- Vertically: Equal space between the top and bottom edges of each element.

2. Smart Distribute:
Figma allows you to manually adjust the spacing between elements. When you drag one element, you’ll see the spacing between it and other elements, helping you distribute them evenly.

3. Tidy Up:
If you have multiple elements that are close to being evenly distributed, you can select them and click the "Tidy up" button that appears in the right sidebar. This will automatically distribute them evenly.

Tips for Precision
- Nudge: Use the arrow keys to nudge elements by 1px or hold Shift while nudging to move by 10px increments.
- Pixel Perfect Alignment: Figma’s grid and rulers can help you ensure elements are perfectly aligned and distributed.
- Auto Layout: For dynamic layouts, consider using Figma’s Auto Layout feature, which automatically handles spacing and alignment as you add or remove content.
Conclusion:
Mastering the alignment and distribution of elements in Figma is key to producing clean, professional, and visually appealing designs. By utilizing Figma’s alignment tools, smart guides, and distribution features, you can ensure your layouts are both precise and aesthetically balanced. Whether you’re working on a simple interface or a complex design system, these techniques will help you achieve a polished look with ease. Remember to leverage tools like the “Tidy Up” function and Auto Layout for maintaining consistency and efficiency in your design process. With these skills in your toolkit, you’ll be able to create well-organized designs that stand out and effectively communicate your vision.


%201.png?width=1016&height=912&name=image%20(54)%201.png)